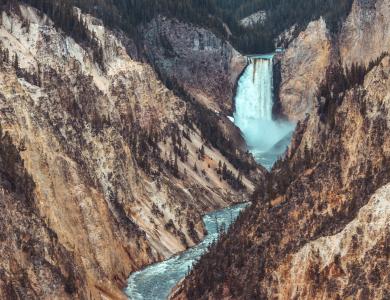
We don't know for sure when the first stars in our universe burst into life, but NASA tells us about the Epoch of Reionization - a major cosmic event that led to the brilliant celestial delights we see in the night sky today. A balance of technique and creativity, astrophotography captures the depth, drama and pure wonder of all the celestial delights there for us to enjoy when we look up. Landscape and nature photographer Imma Barrera shares her stellar tips for shooting the night sky.
What equipment would you recommend for a beginner to get started?
Any DSLR or mirrorless camera is suitable, as long as it can be set on manual mode. You’ll need a lens with an aperture of at least f/3.5 – preferably f/2.8 or wider. The focal length will depend on the need to capture a foreground: wider angle lenses are better but even a 35mm prime lens can give good results. Make sure you have a sturdy tripod.
What settings would you recommend for a beginner to get started?
Newer camera sensors are better at handling higher ISOs. The wider the angle of the lens, the slower the shutter speed can be without causing unwanted star trails. I would start with settings close to f/2.8, 15-20 seconds and ISO 3200-6400, using the widest focal length available. If, after reviewing the photograph on the LCD screen at 100% magnification, you see unwanted star trails then make sure you use a faster shutter speed. If the image is too dark, either increase the ISO or use a slower shutter speed. It might take a bit of tweaking.
What are the key challenges of shooting at night?
It may depend on the photographer and the level of experience. For me the main challenge was being able manually focus the lens at night. The stars need to be sharp so focusing to infinity is a must. The easiest way to focus to infinity is to do it during the day (using autofocus if necessary) and mark with a tape or marker the location of focus on the lens’ focus ring.
How do you compose an image at night if it’s too dark to see?
My trick is to compose the image by using a ridiculously high ISO number. This trick accomplishes two things: first, the foreground will be visible even if very noisy, and second, I can get away with using a faster shutter speed. This way, I do not waste too much time composing and re-composing the image.

What is the easiest way to capture details in the foreground when it’s too dark?
The easiest way would be to take two photographs and blend them together during post-processing. Take one image which exposes the sky and then another image to capture the details in the foreground – remember capturing the foreground usually requires a longer exposure than what’s needed to photograph the stars. The sky and foreground images must be taken without having moved the camera, so both images can be put together easily during post-processing. Another method would be to use a source of light so the foreground can be captured in the same image as the sky. The light source can be either artificial – such as a flashlight, speedlight or LED lights – or from a natural source like the moon or twilight.
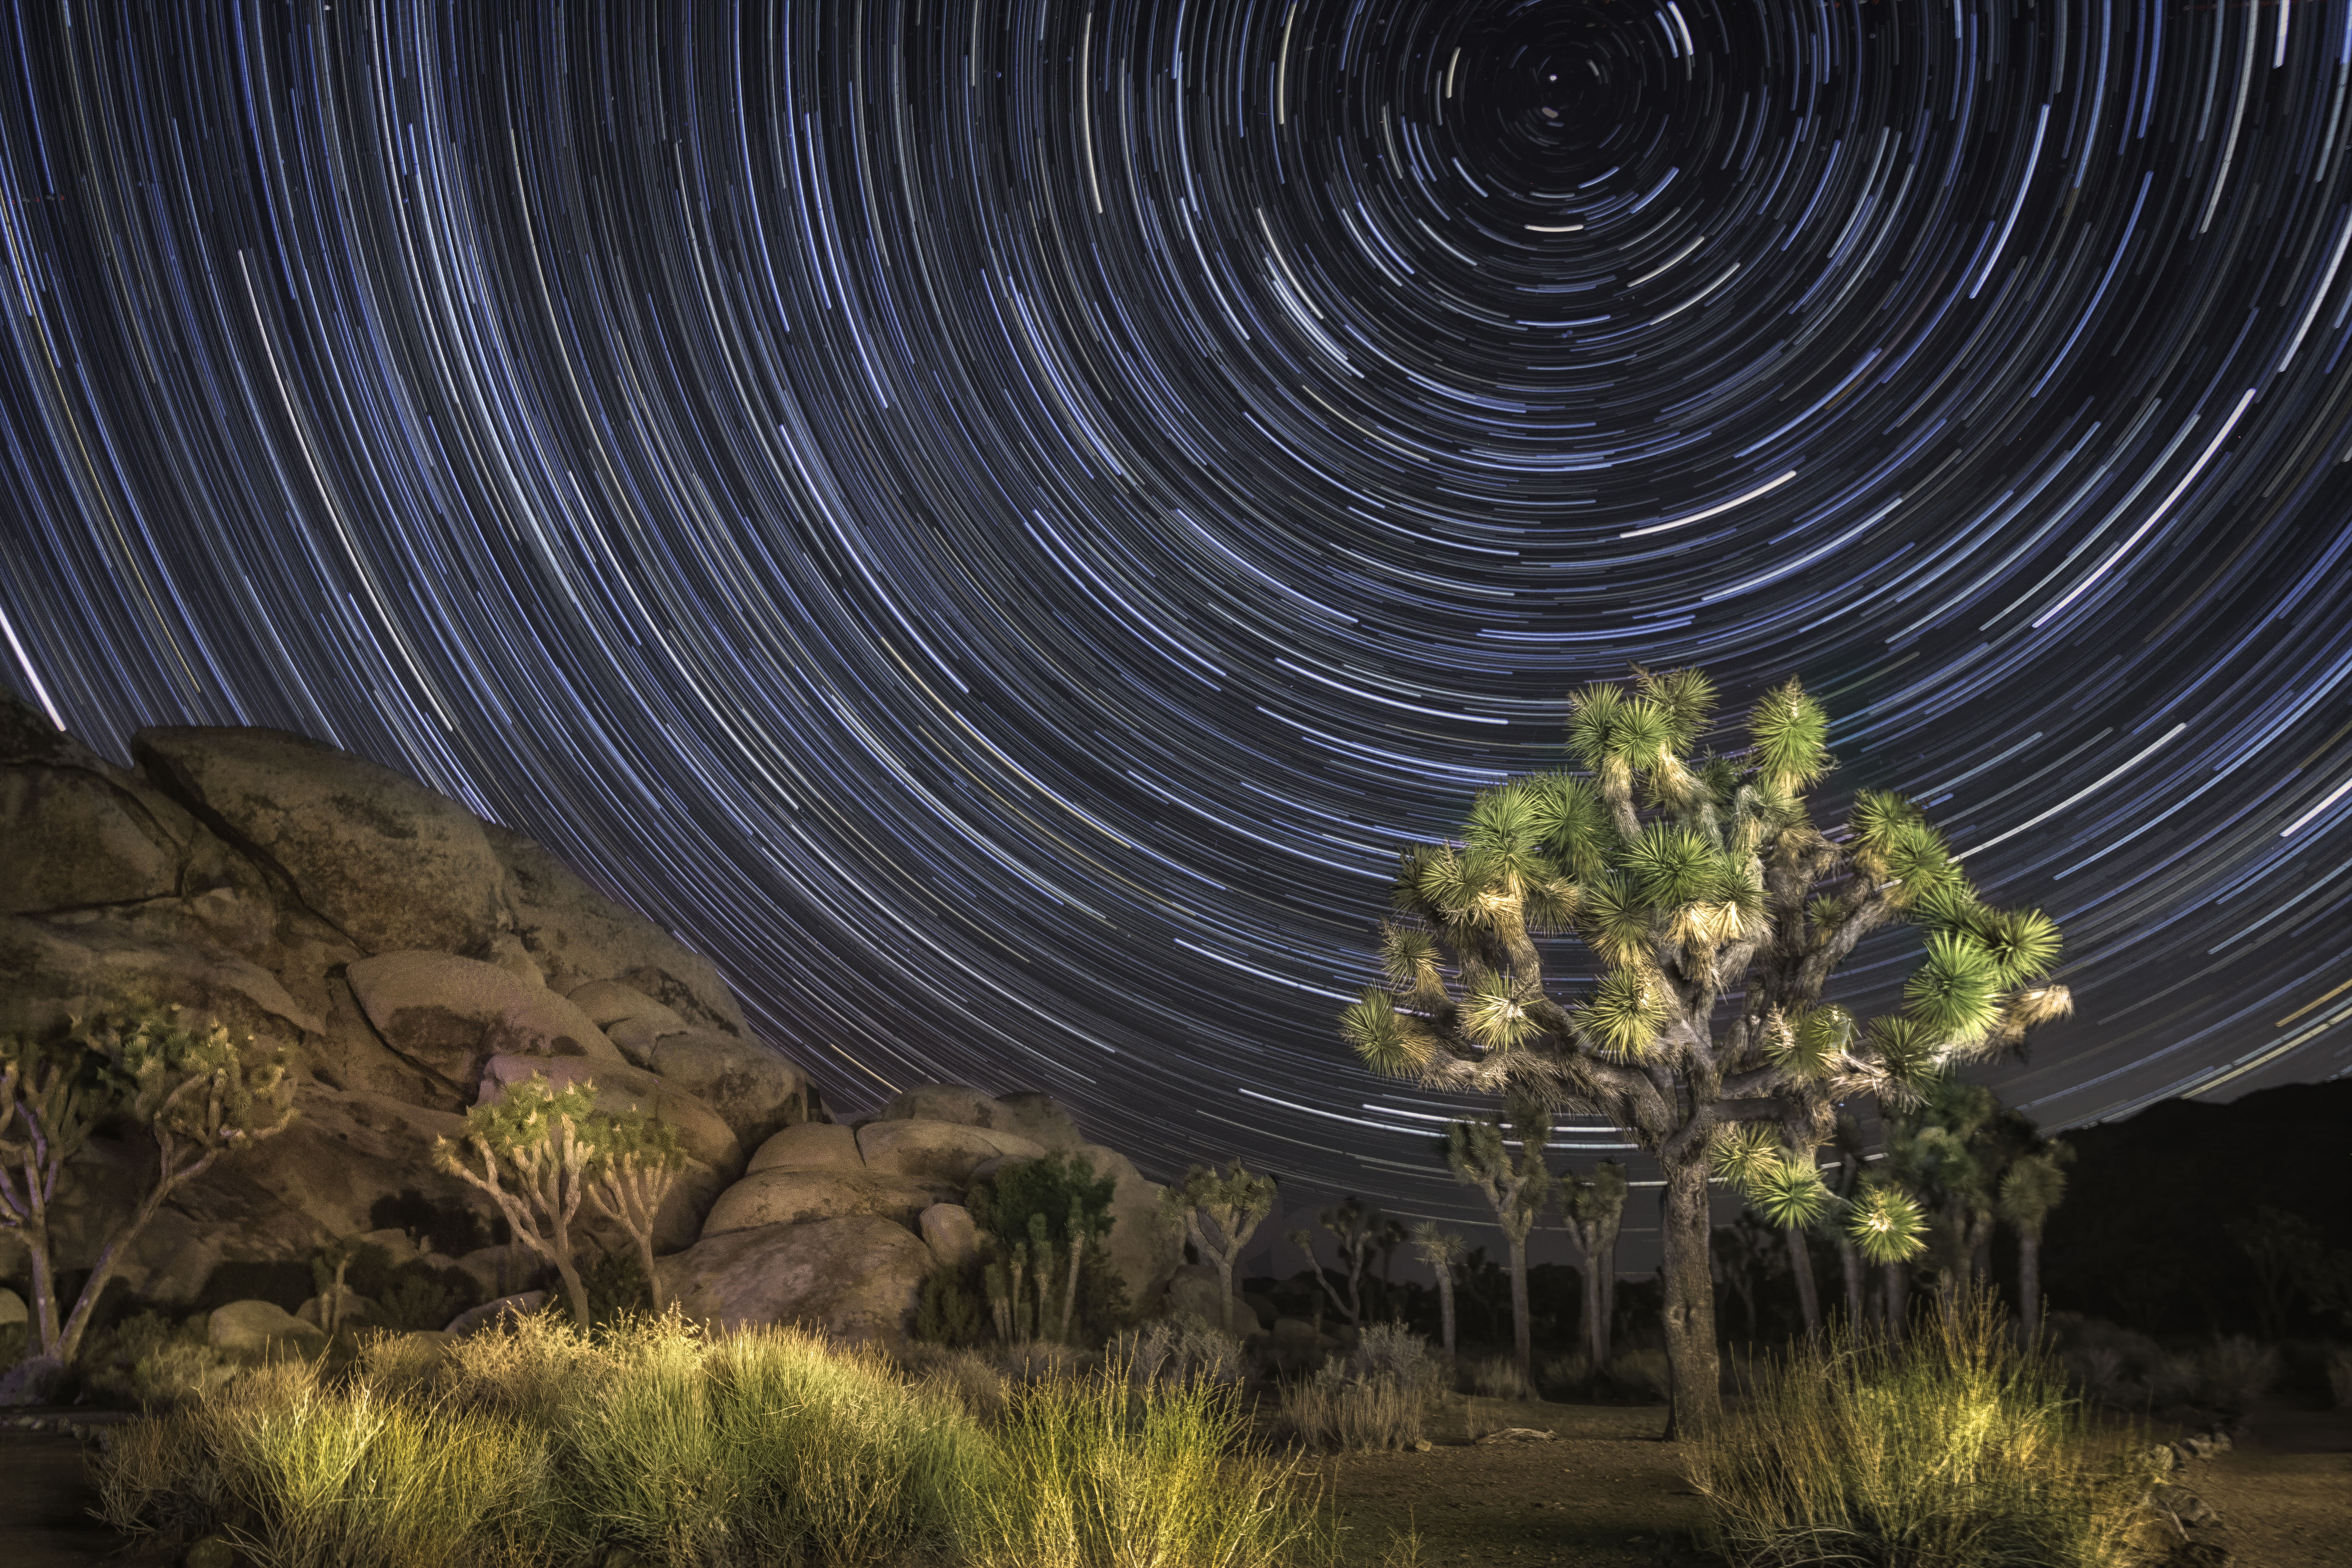
Shooting at high ISO can result in a noisy image. Is there a way to reduce the noise?
Yes. Noise reduction can be achieved by stacking several images captured consecutively using specialized stacking software. You can also use Photoshop. Alternatively, a star tracker will follow the movement of the stars and allow a longer shutter speed, so you can set a lower ISO and a smaller aperture if necessary.
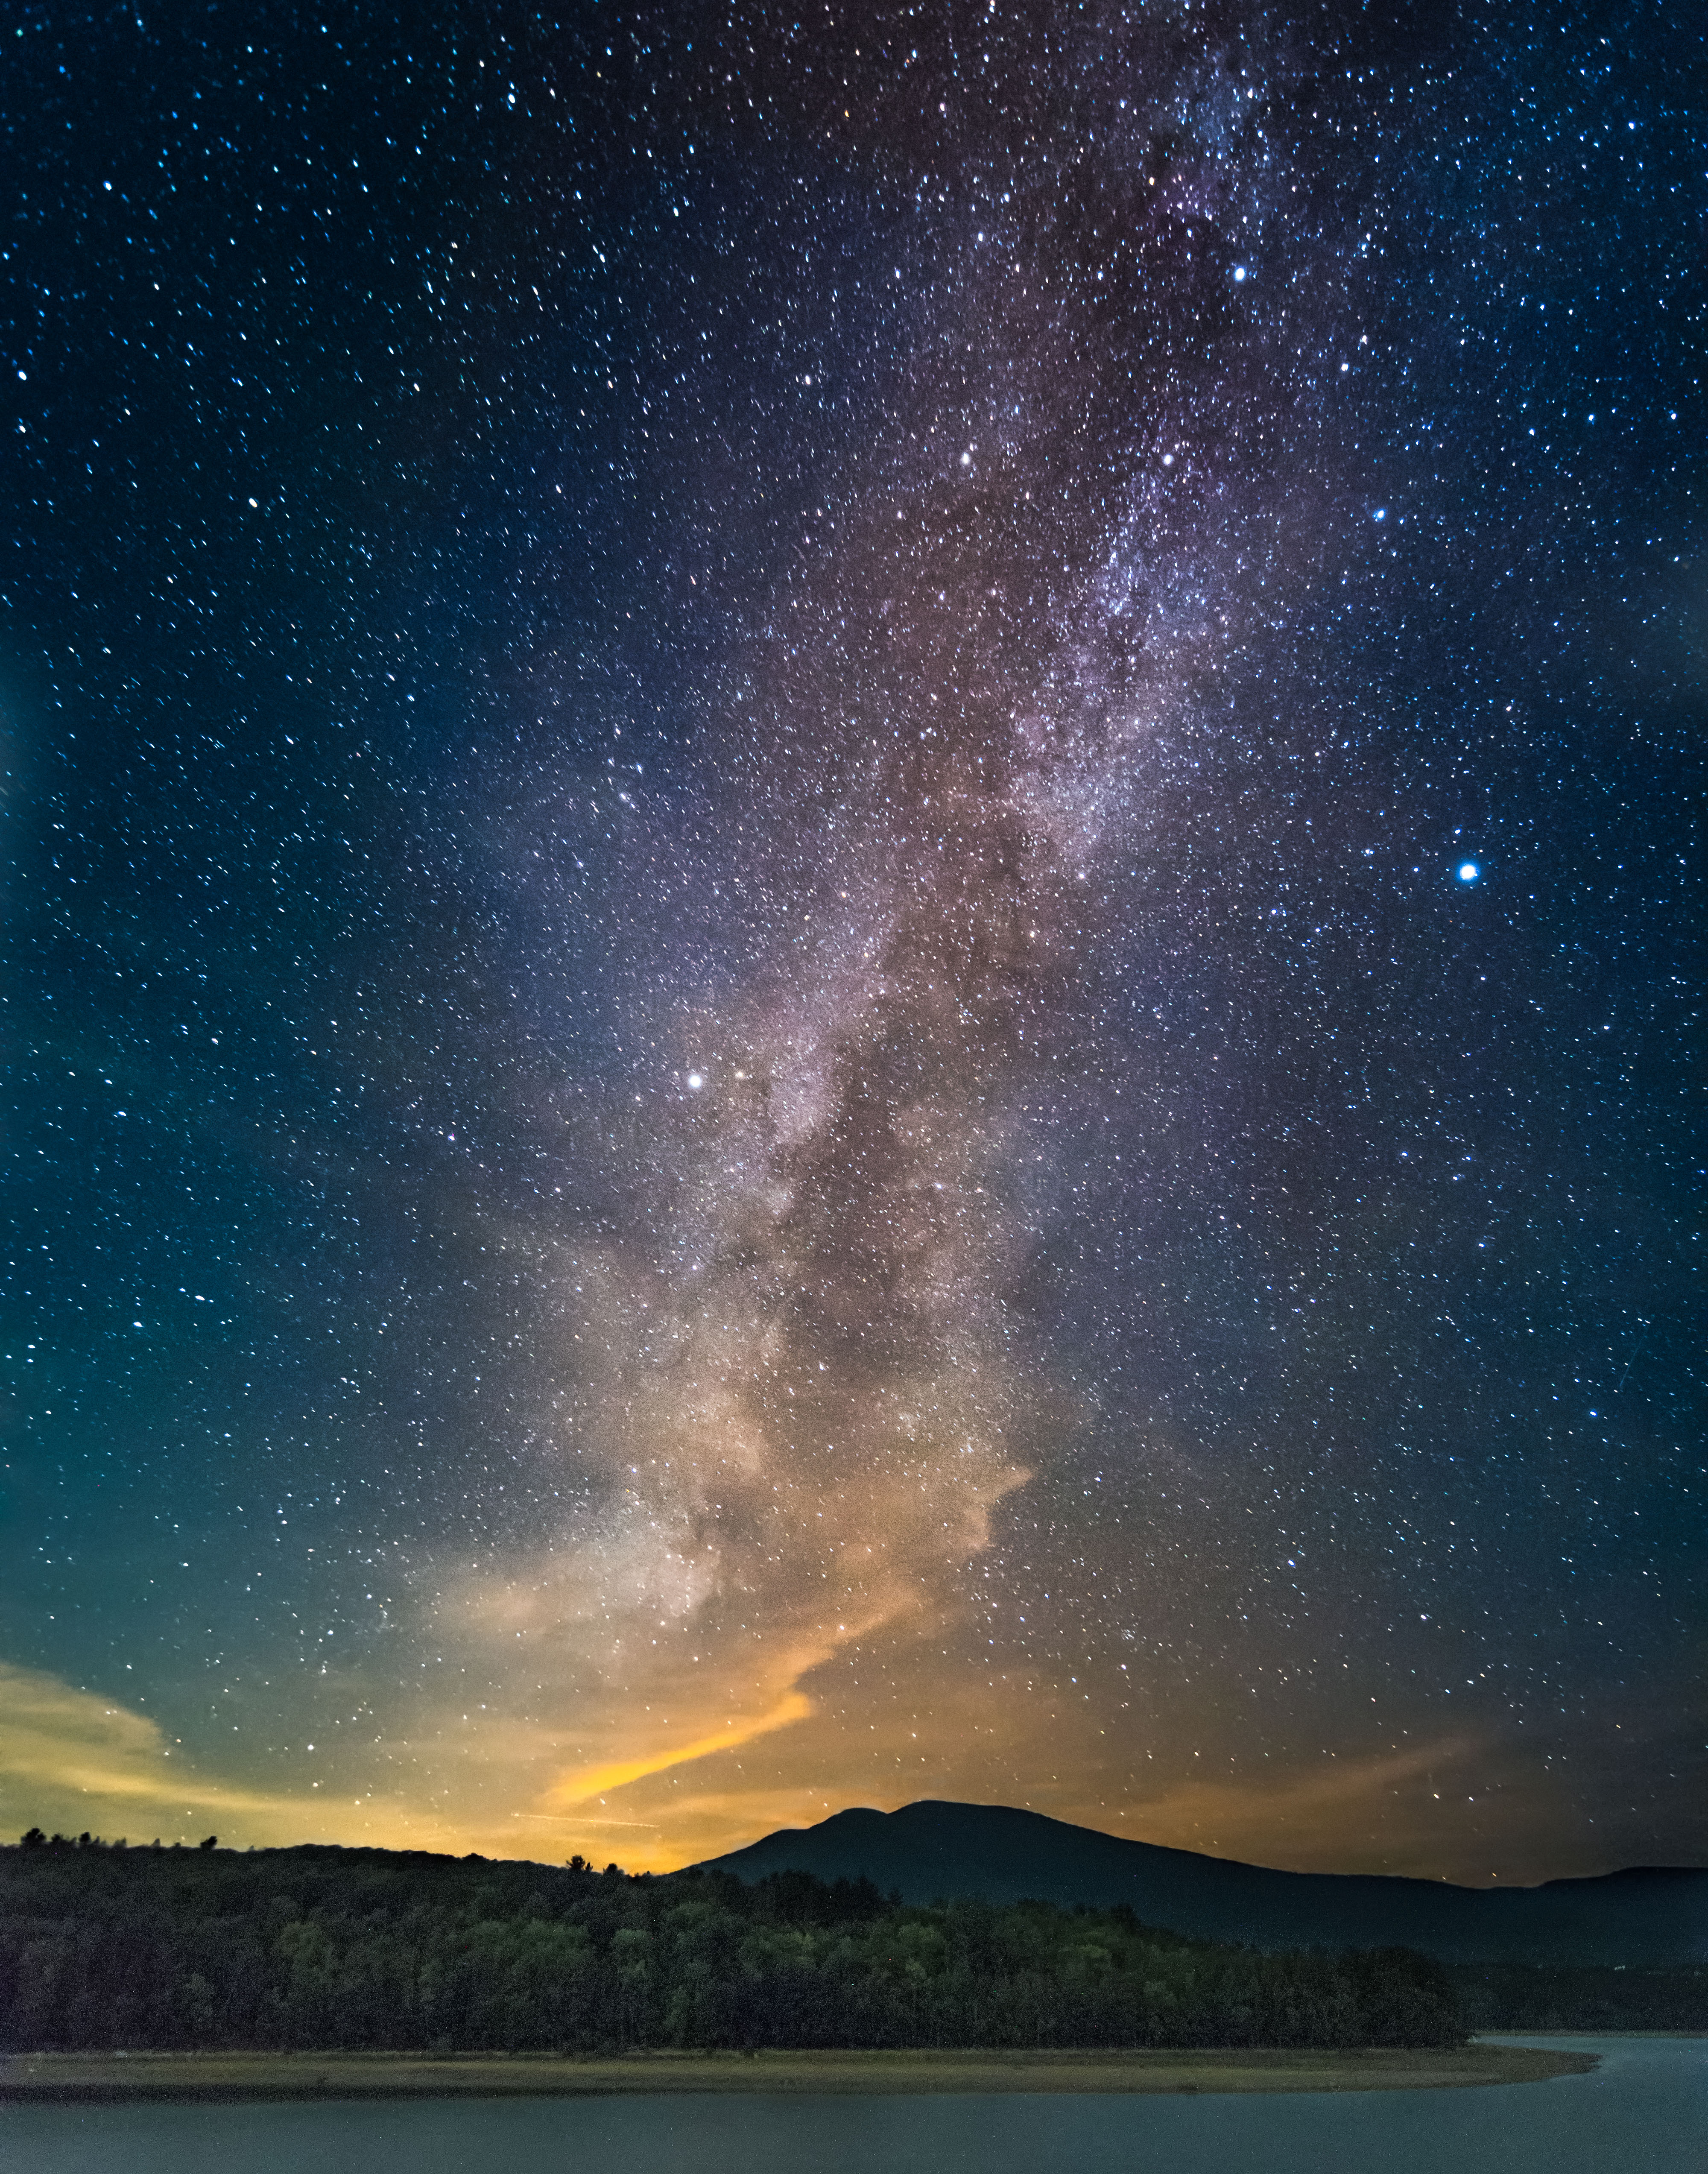
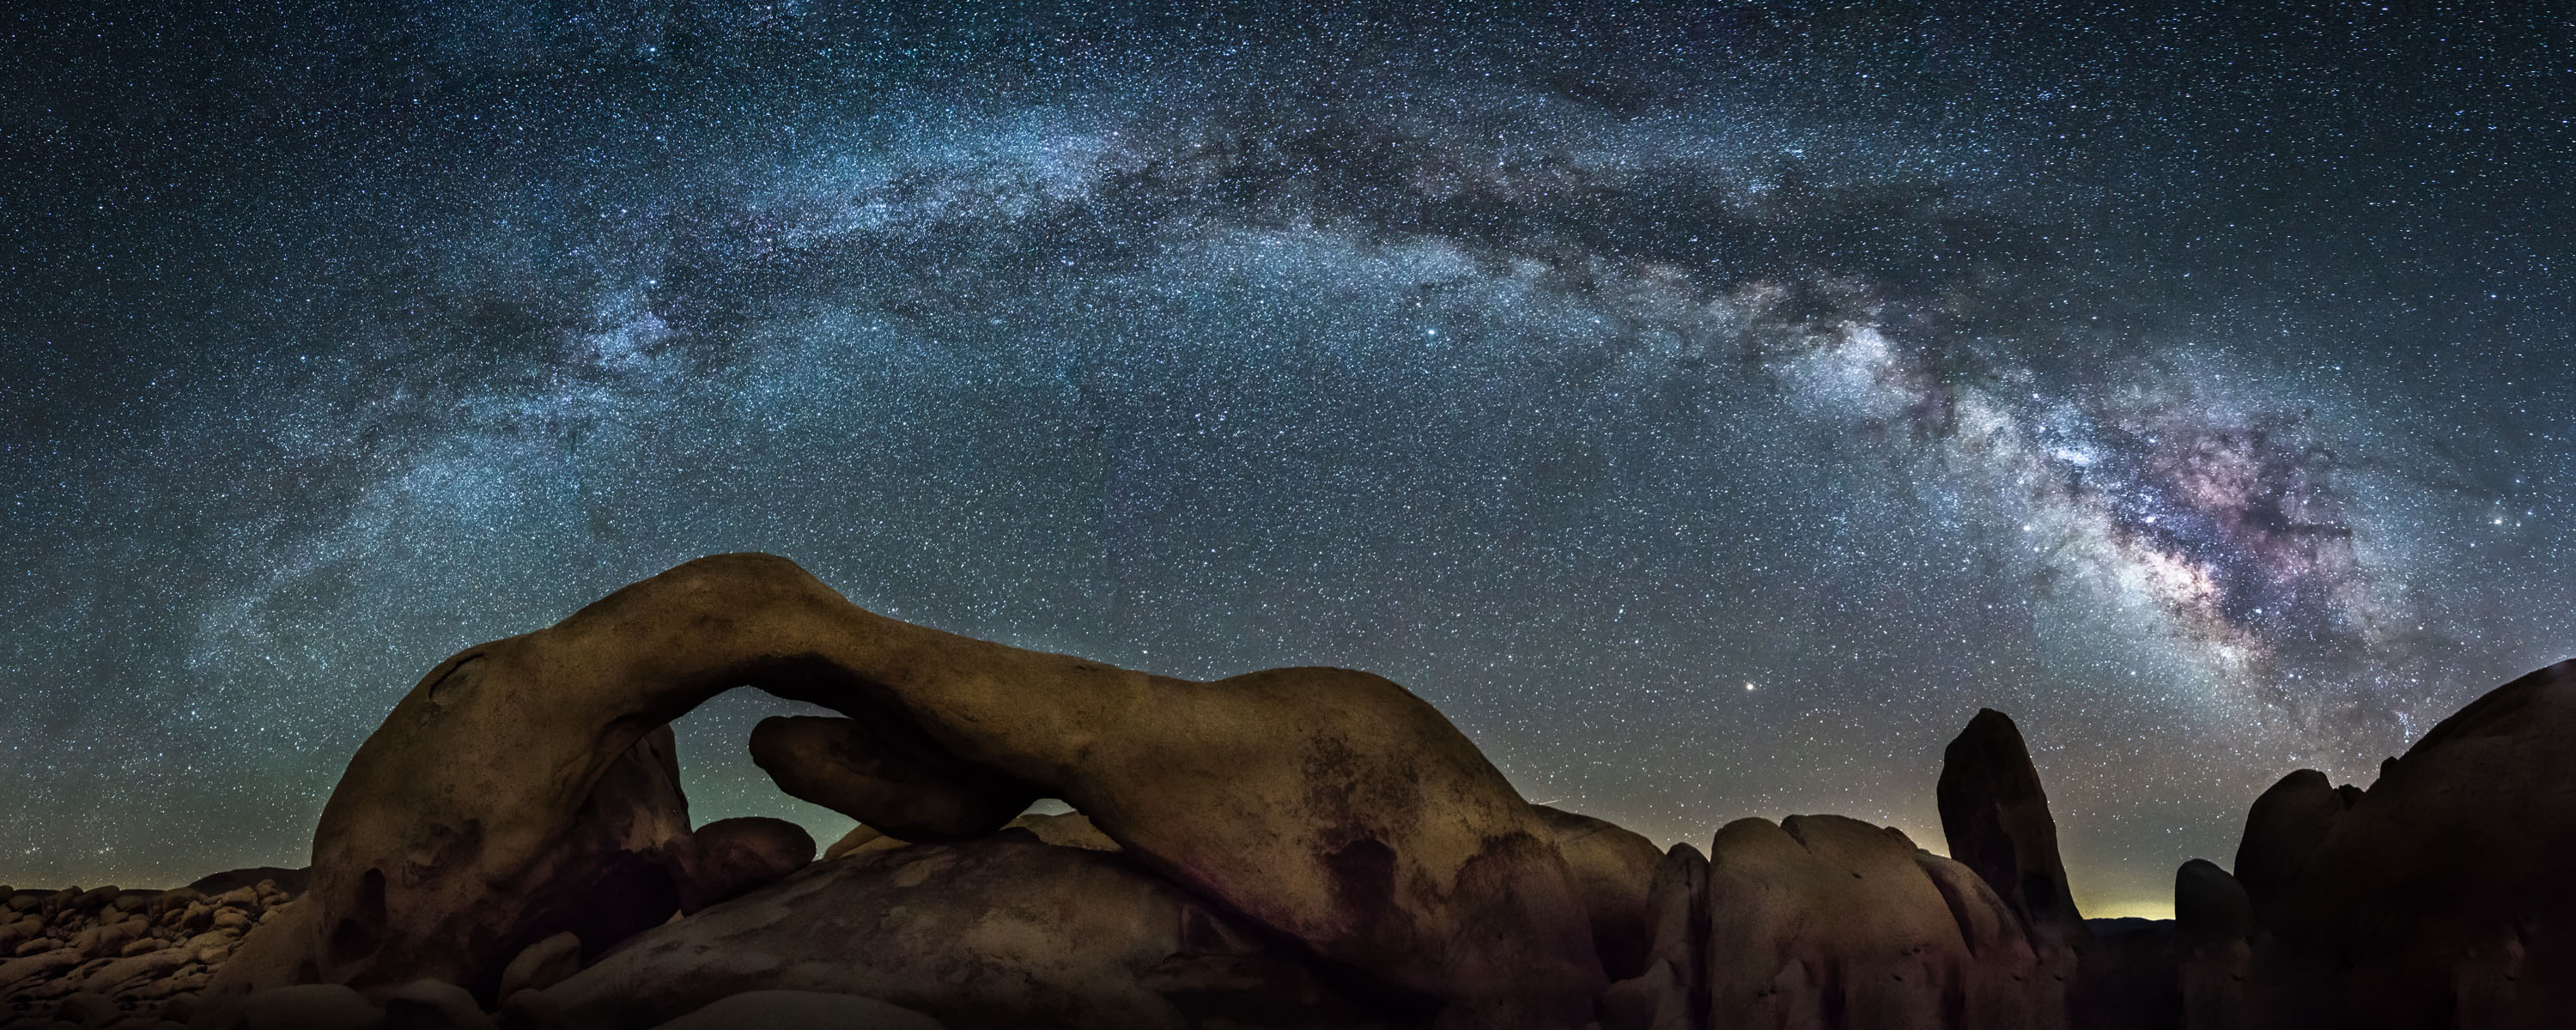
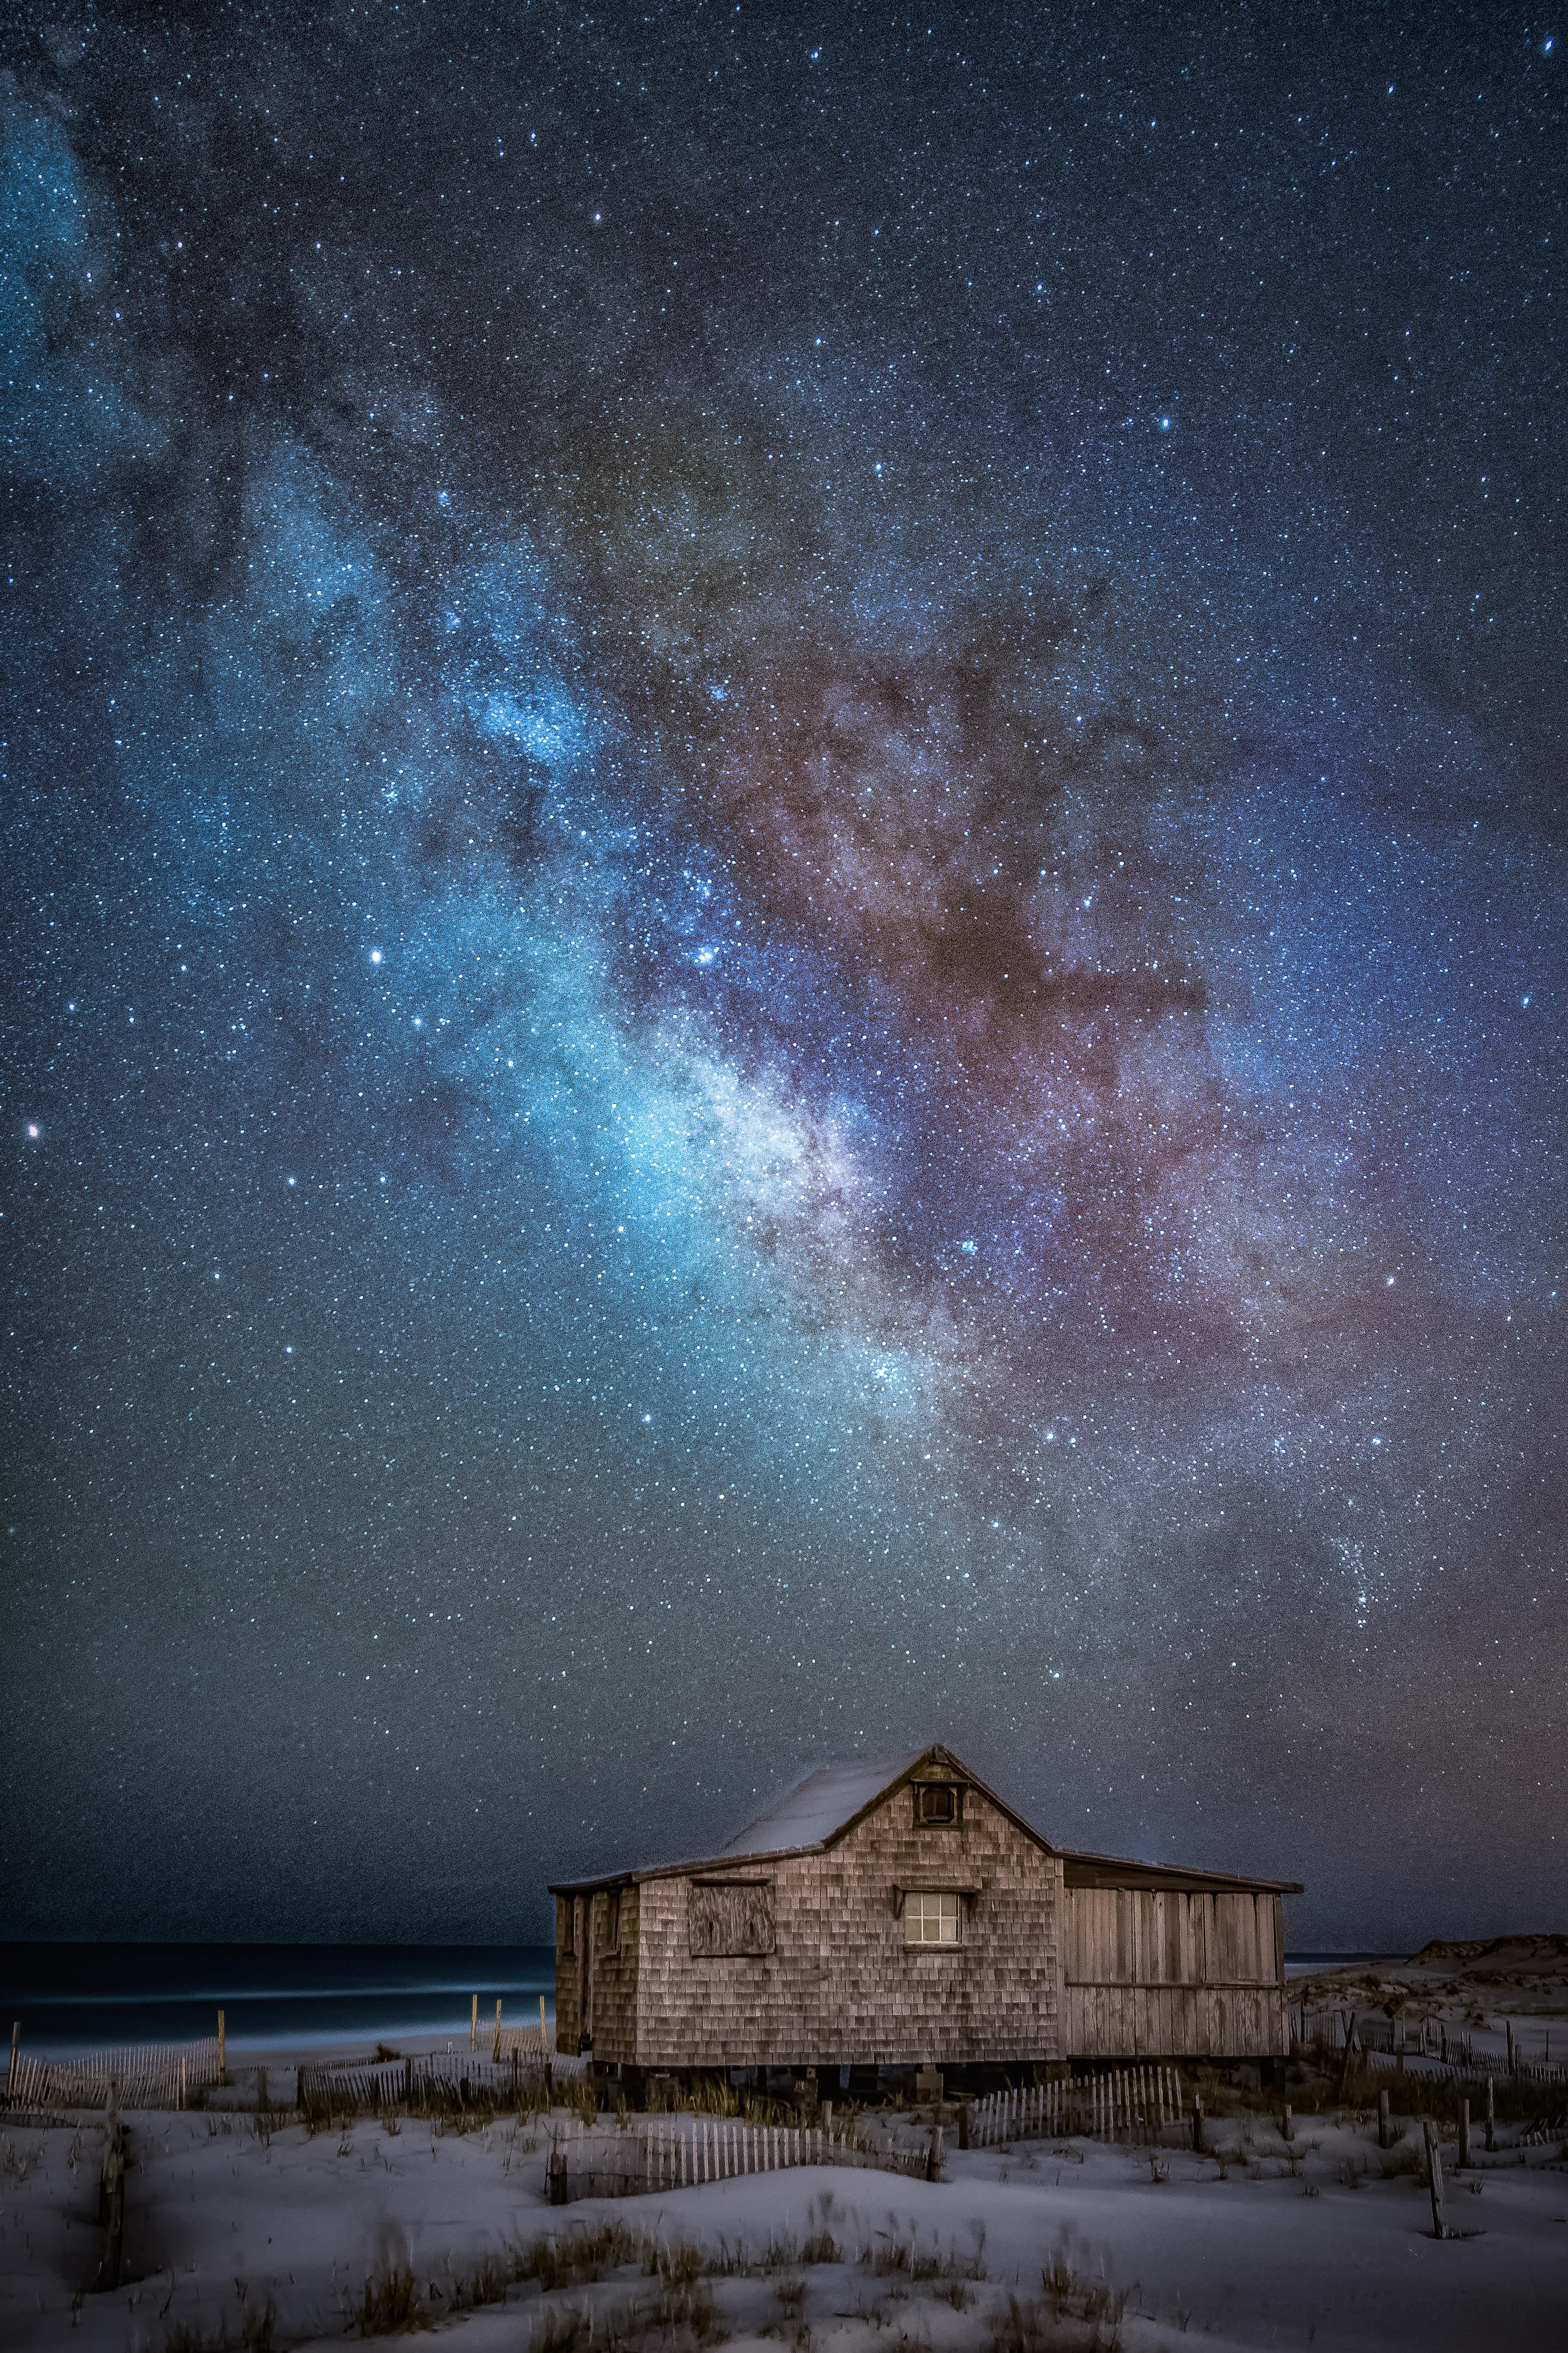
Is it always possible to see the Milky Way?
The Milky Way is always visible on a moonless, relatively clear night. It’s good to note however, the brightest and most photographed part of the Milky Way is the galactic core, which is not always visible.
When is the best time to capture the galactic core?
It depends on your location. The galactic core is only visible in the southern sky when it’s above the horizon at night. In the United States, where I photograph the most, the core is visible from March to September. However the further north you are, the lower in the sky the core can be found. If you live above 65 degrees north, you’ll never see the galactic core as it never rises above your local horizon.
How do you find the galactic core at night?
There are several ways to find the galactic core. If the area has very little light pollution then the milky band is clearly visible to the naked eye. The core is found in the south to southeast skies, between the constellations of Sagittarius and Scorpius (look for Antares, the bright yellow star). In addition, this year Jupiter was found very close to the core. Jupiter is so bright that it can even be seen at twilight. For those who live in more light polluted areas, there are several phone apps that can help you locate the stars, constellations and of course the galactic core through virtual reality simulations.
Enter your best astrophotography images to the 2020 Sony World Photography Awards, now open and free to enter.
Born in Barcelona Imma Barrera is a landscape and nature photographer based in the United States. She’s exhibited her photography in a number of galleries worldwide and has won several awards. Imma was selected as the 2019 Capitol Reef National Park's Artist-in-Residence for her night sky photography. She is currently working on a book about the night skies. She is involved in educational programs about photography and seminars to raise awareness about the need to protect our natural treasures. One of her favorite subjects to photograph is the Milky Way. Barrera was shortlisted in the Landscape category of the 2019 Sony World Photography Awards’ Professional competition with her series ‘Under the Night Sky’.
See Imma’s portfolio here.
Check out her Instagram feed here.
Do you have a compelling set of images you think could win prizes? Enter our Professional competition for free!