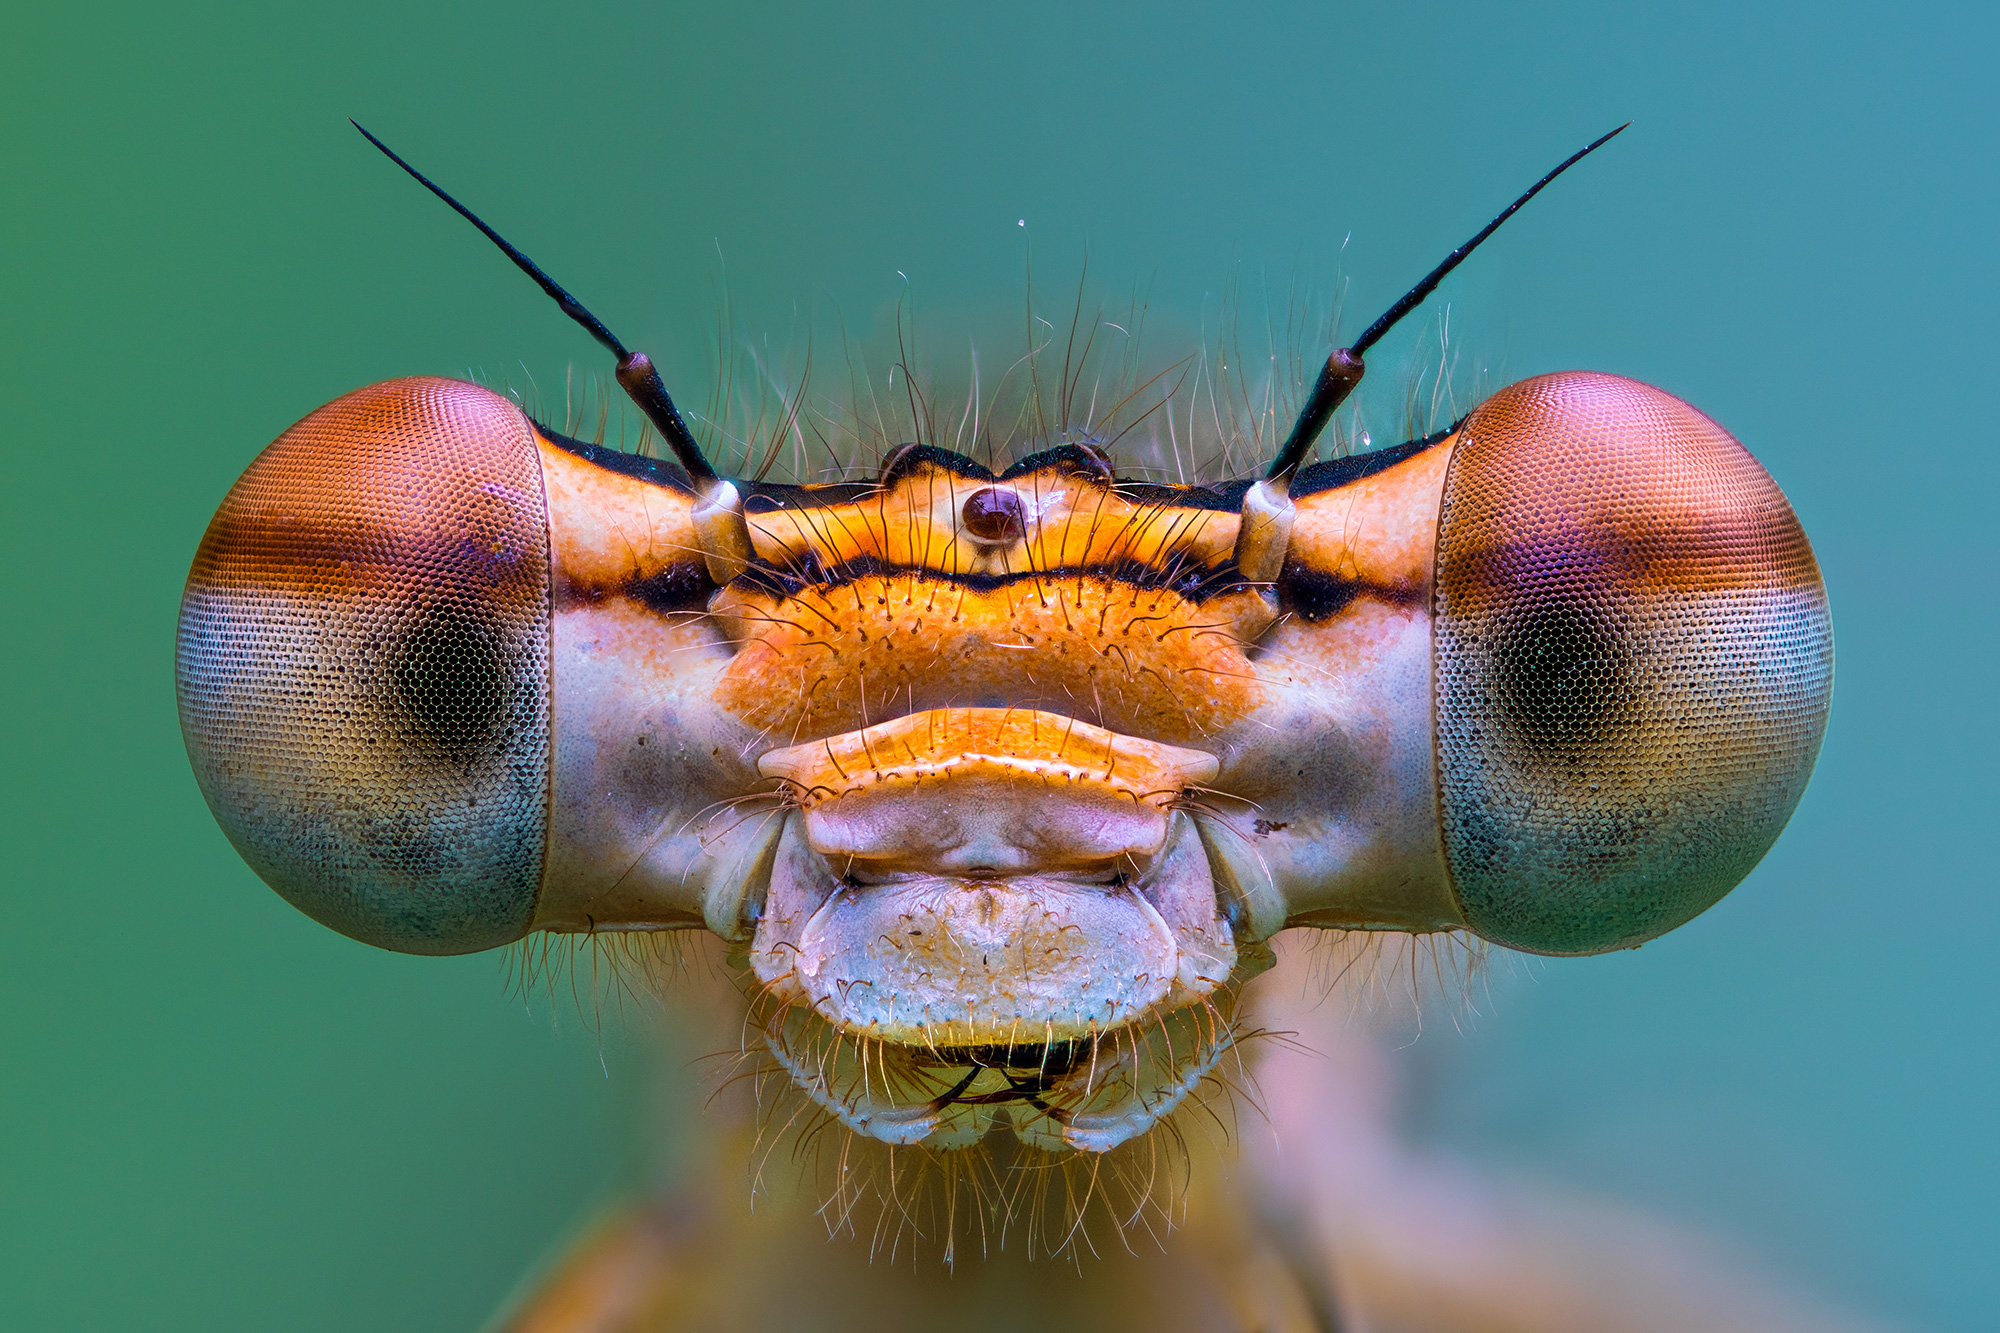
I have always been fascinated by nature and living things, especially the tiny details that can’t be seen by the naked eye. As a wildlife photographer, one of the areas that I specialise in is extreme macro images. It is quite a difficult type of photography, requiring a lot of determination and patience, but I want to explain what I do and how I do it.
FIELD CRAFT
The most common problem is the weather. I am always aware of what the weather will do. For my extreme macro shots, I use a technique called focus stacking which requires taking multiple images of the same subject, so the slightest movement can affect the final outcome. The wind is therefore my nemesis, and I simply can’t shoot if the wind is blowing.

I always shoot early in the morning. Overnight, insects enter a state of almost hibernation. It is not until the sun warms them up that they become active, so it’s a great time to capture them – again, they’re unlikely to move at all which is perfect for what I need.
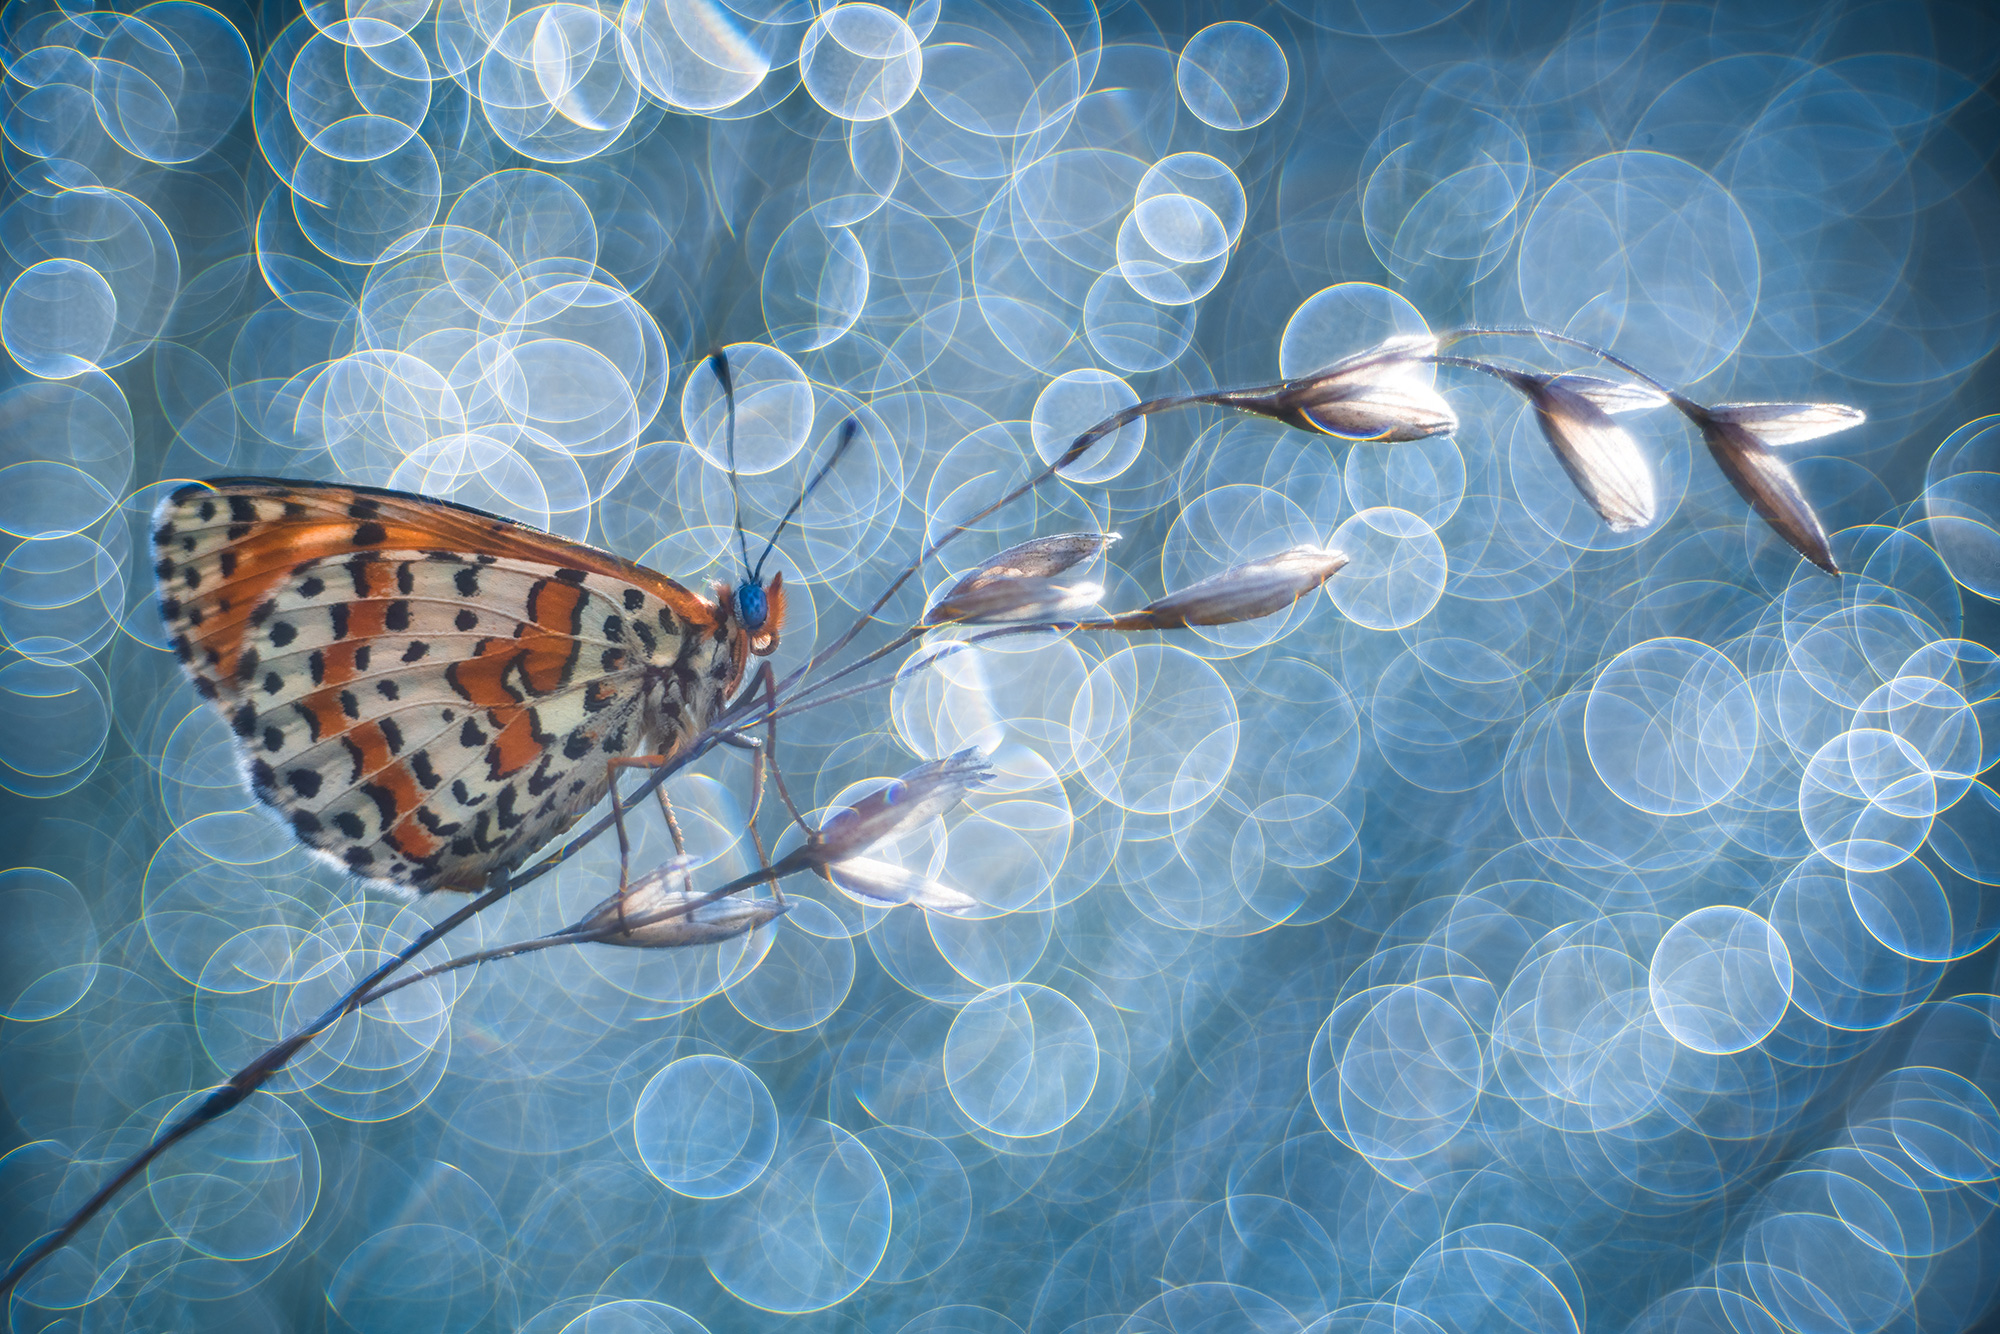
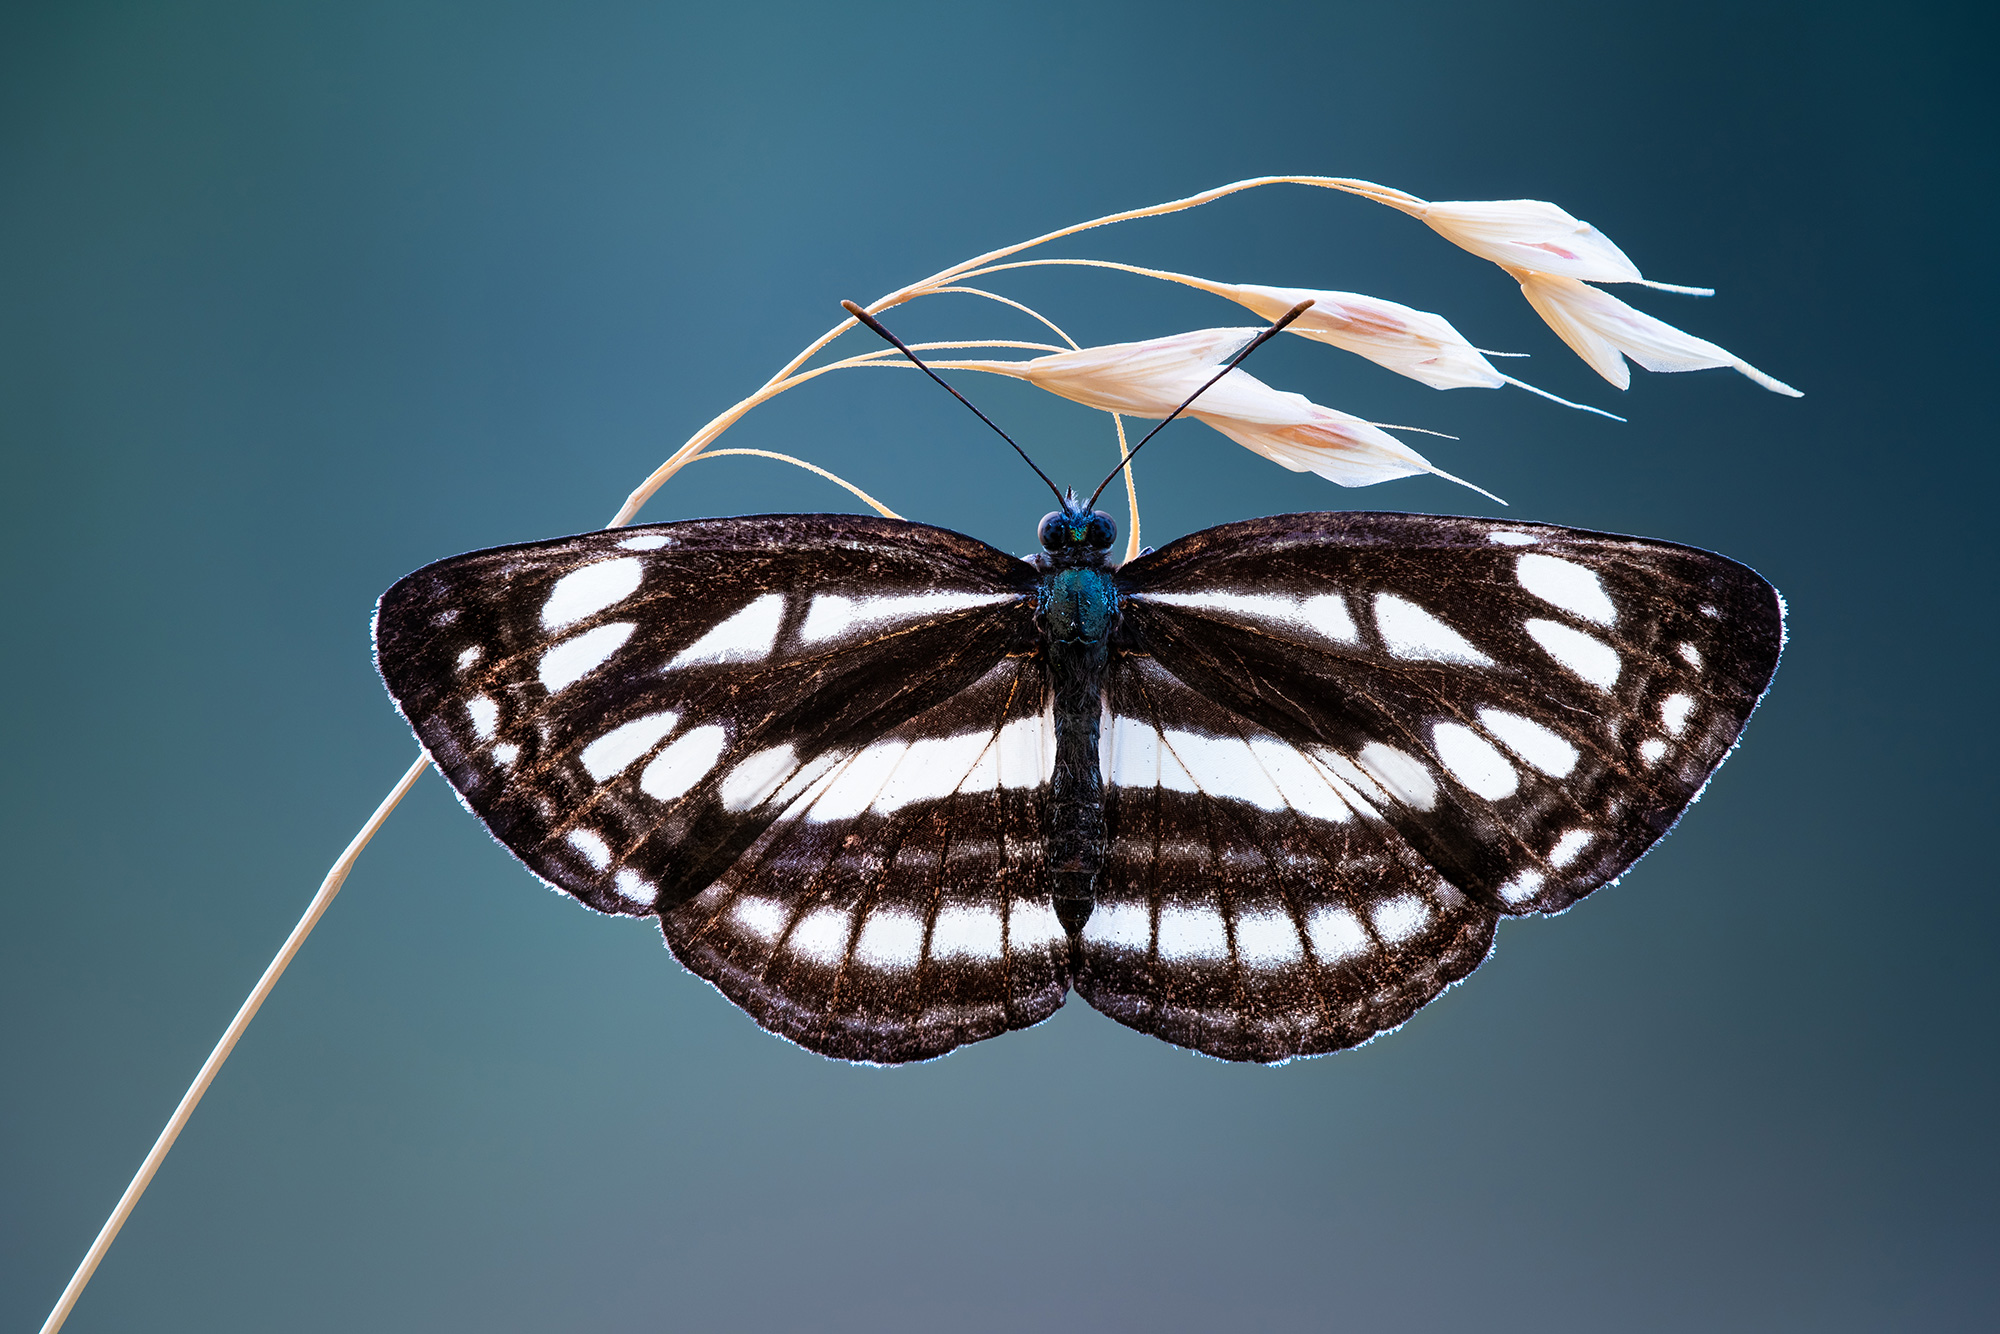
I also have to give myself time to find the right composition and background, and that all depends on the colours in the scene. I particularly look for things like morning dew on grass. When there is sunshine, the tiny water droplets can produce beautiful circular bokeh in the background.

EQUIPMENT
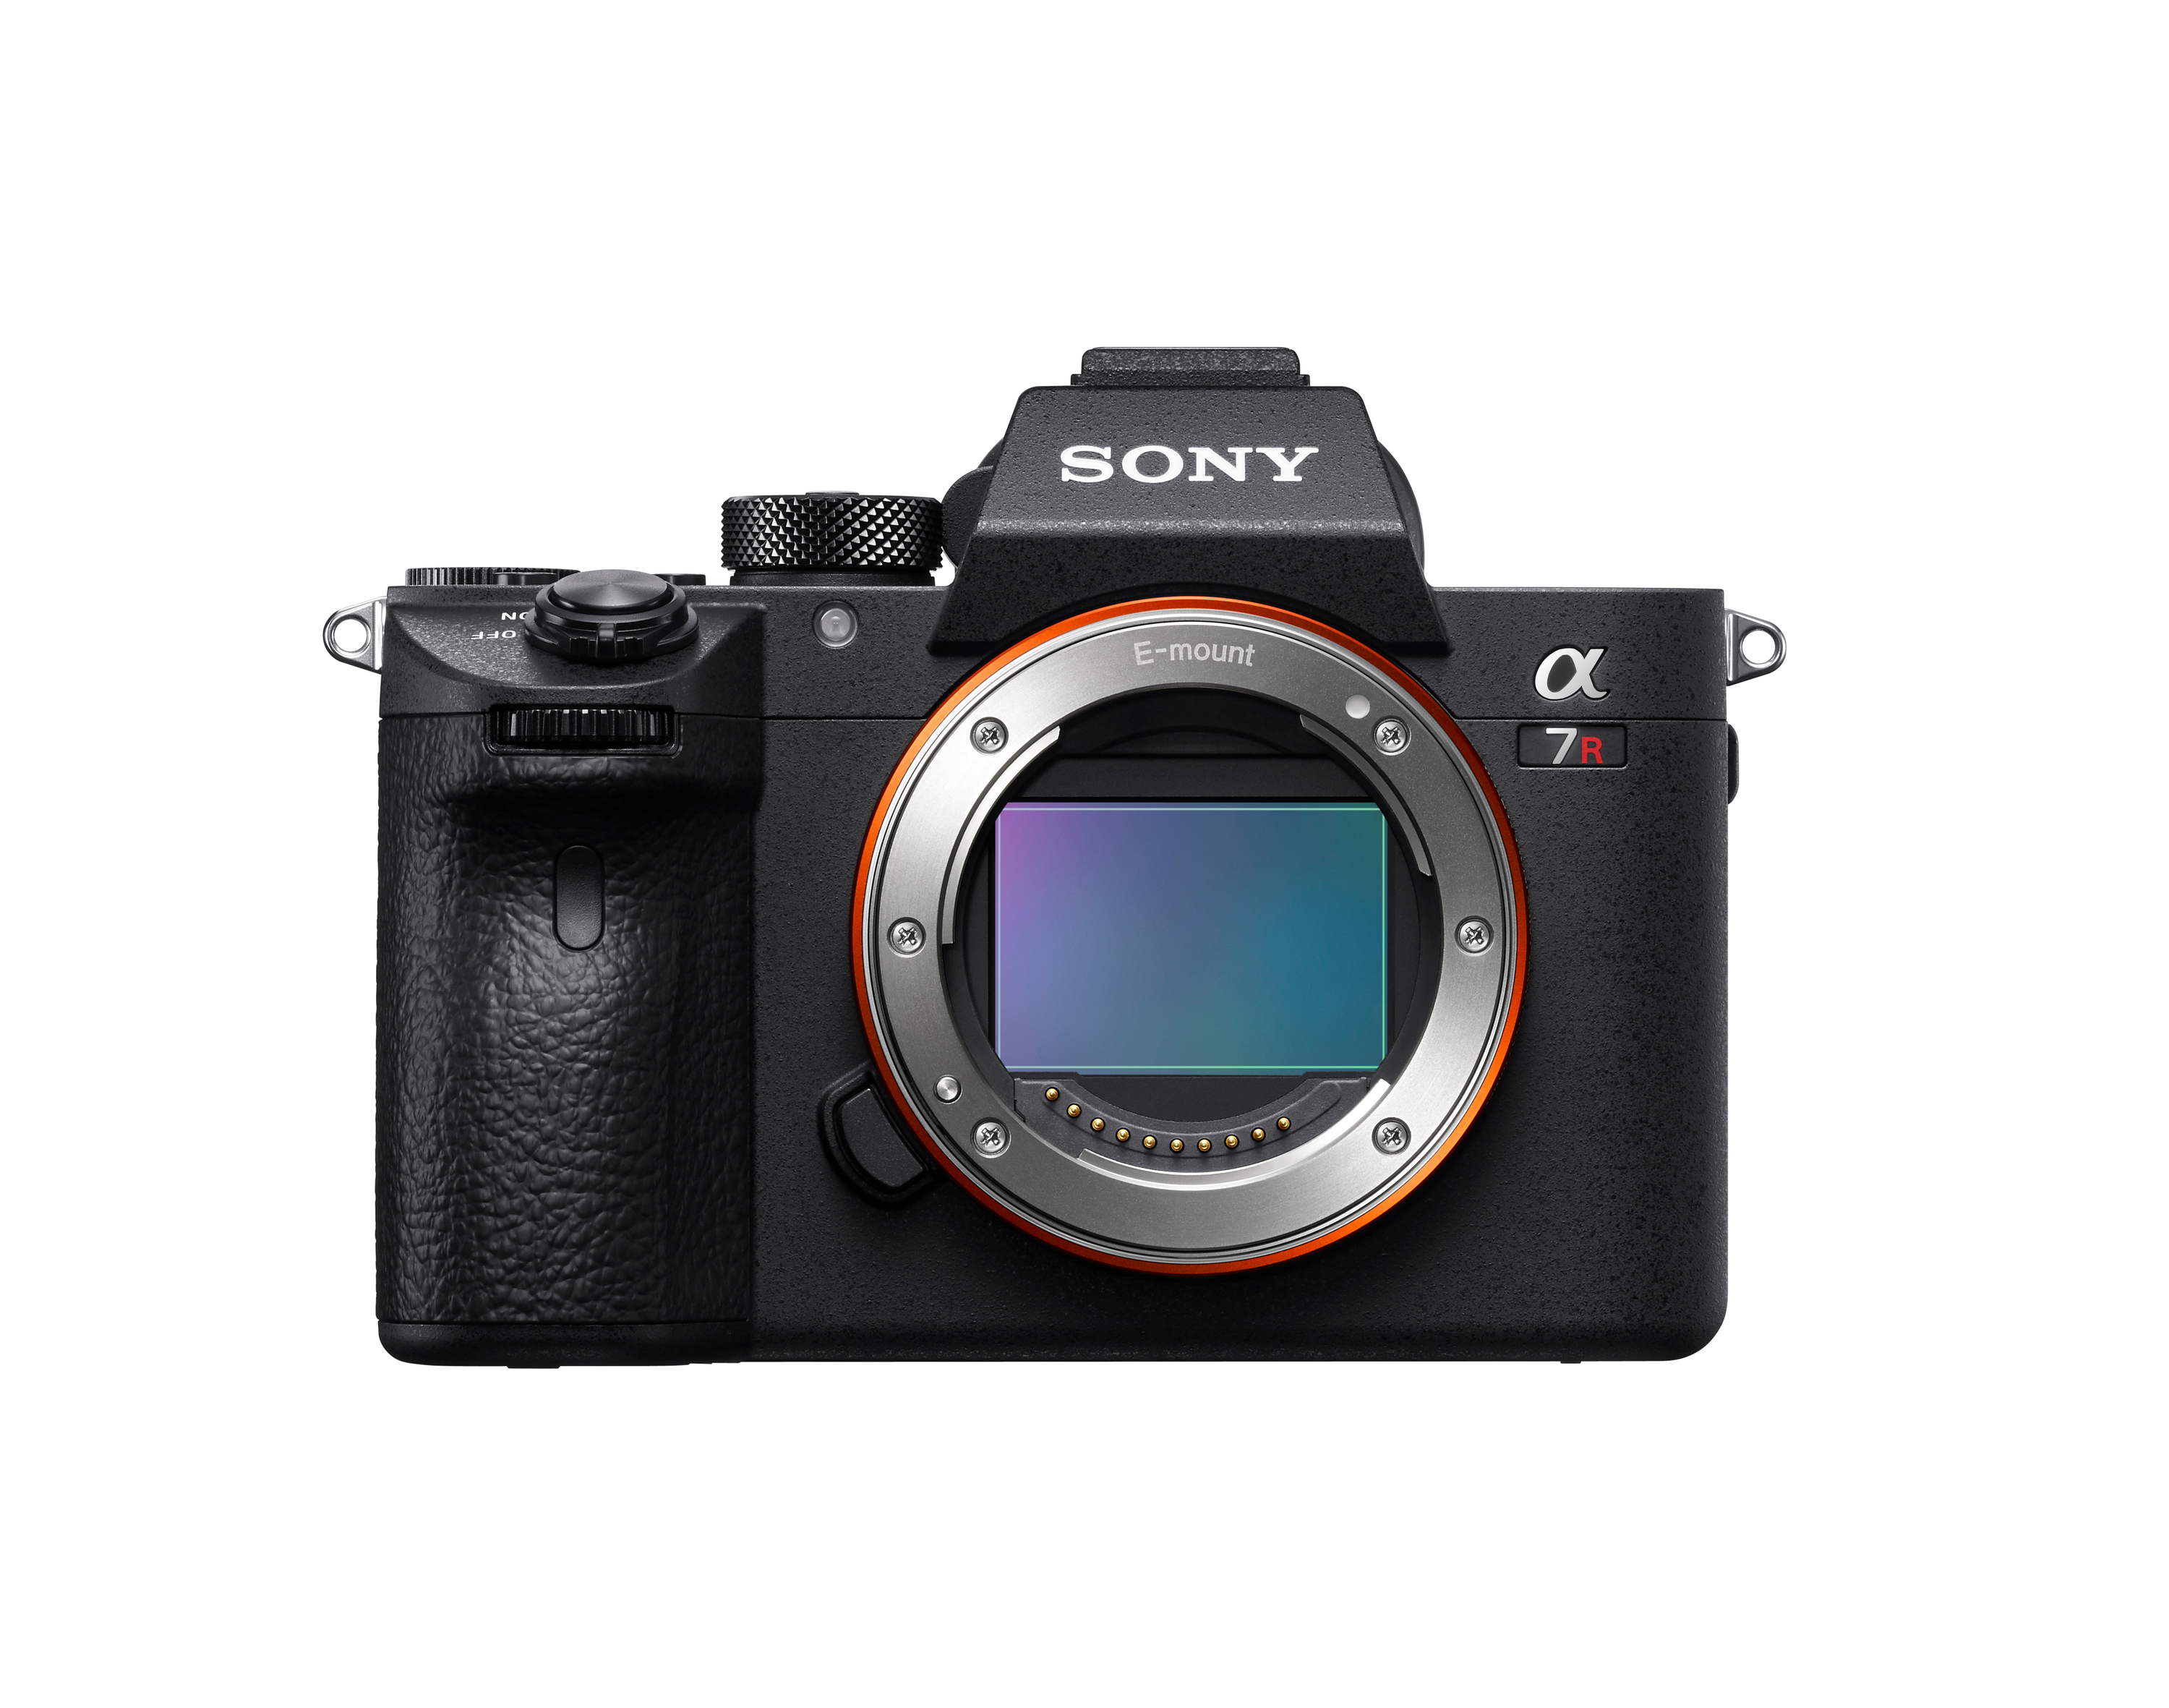
I shoot with the Sony α7R III with its incredible 42.4 megapixel resolution. As well as the resolution, the α7R III has no mirror, and it has the option to use an electronic shutter so there are no moving parts that can cause vibration. Vibrations are a macro-photographer’s worst nightmare.
In terms of light, I very rarely use flash. I prefer to rely on natural light and occasionally I will use a reflector, just to add a little light to the shadows.
I always focus manually and take advantage of the α7R III’s Focus Peaking feature. This highlights the edges in the image that are in focus. I can set different colours of the peaking - yellow, red or white, so that it stands out from the colours on the subject.
I then use the Focus Magnifier to magnify just part of the frame and find the precise point of focus. The tiltable LCD screen really helps me do all of this, particularly if I am shooting at an awkward angle.
In terms of exposure it is a case of balancing the exposure triangle of shutter speed, aperture and sensitivity as best I can. If the conditions allow me to shoot at a slow shutter speed then I will aim to use ISO 100 for the best possible image quality. The good thing is that the α7R III allows me to increase the sensitivity to a higher ISO, if I need to, and still see plenty of detail. The aperture can vary, but I generally shoot somewhere between f/8 and f/13, however I also use extension tubes sometimes to cut down the light entering even more and achieve even more magnification.
FOCUS STACKING
With macro photography, because the depth of field is very shallow - even when using fairly small apertures - I use focus stacking, where I combine a series of images taken at different points of focus on the subject. This makes sure the subject is sharp from front to back.
To do this, I use electronic macro rails and an extremely sturdy tripod. These motorised rails move my camera in measurements of microns. There is a controller which I use to set up the total movement and the number of steps I want to make. After each step, or movement, the camera will take an image.

Sometimes there will be more than 100 or 200 images, which is why I need a perfectly still subject and no wind. Any movement from the subject and the whole stack may be ruined. For this reason, I am always looking at the live view screen of the α7R III and checking for even the smallest movement between images. I have to be very, very patient and I always shoot more than one stack. One trick is to shield the subject using a small tent, or similar, just something to reduce the wind.
Once I have taken the images, I use software to combine them all in to a single image. I use specialist software – Zerene Stacker - but you can also stack the images using the most widely available editing software.
SOME FINAL TIPS
• Photograph insects at sunrise when they are likely to remain very still as they’re still in “hibernation mode”
• Think about your background and its colour when composing your shot
• Use a tripod to keep your camera perfectly still
• Use an electronic shutter to avoid any tiny vibrations that the mechanical shutter may cause
• Keep the sensitivity as low as possible to get the most details in images
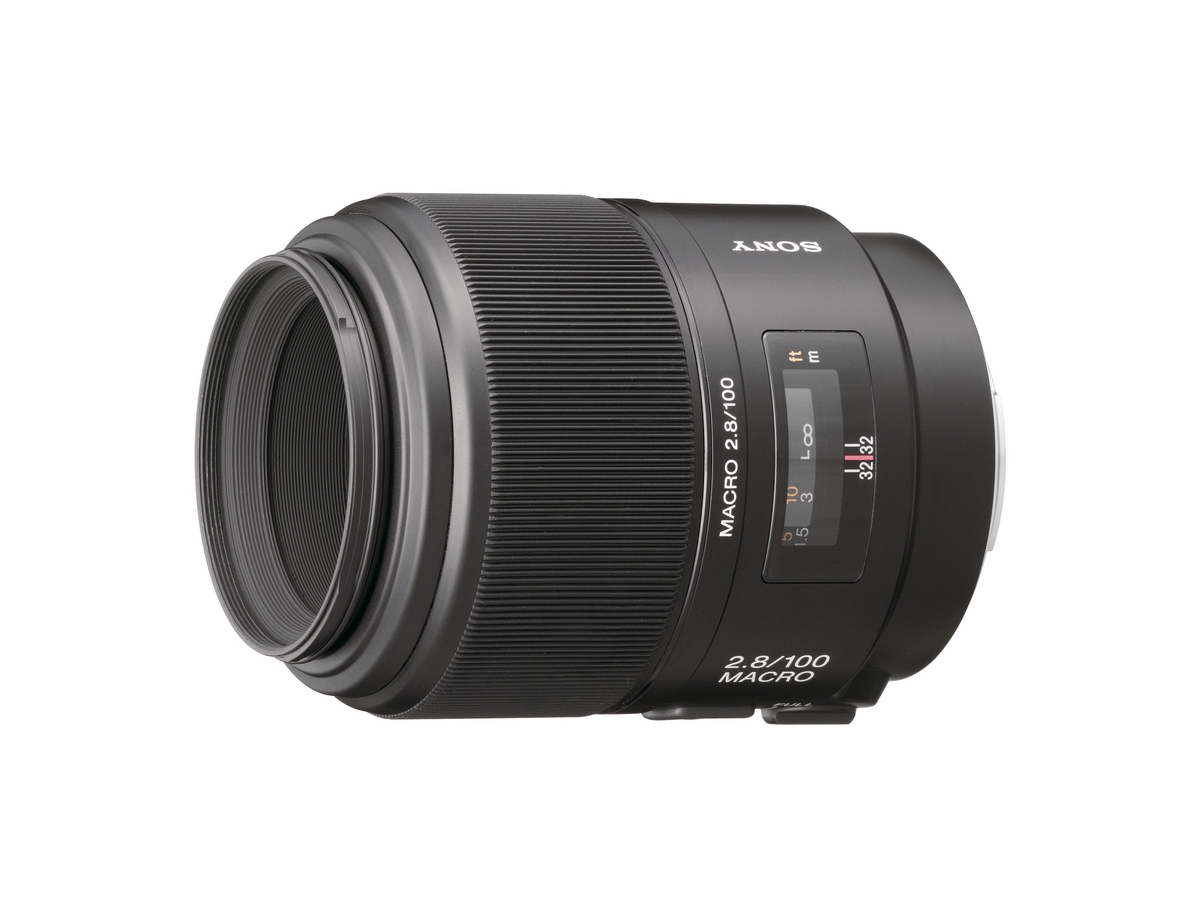
THE EQUIPMENT USED IN THIS ARTICLE