ETIQUETTE
Whilst I am there to get the images that I need, I have to be mindful of other people. First up, the artists themselves. When you are shooting backstage you have to know when to stop shooting. It’s fine taking a couple of shots of the lead singer choosing an outfit for the night, but it’s not fine to just stand there for five minutes hovering over them like a wasp.
Then there is the audience. By blocking their view, you are devaluing the experience of someone who has paid to be there. You have to be respectful and I always try and ask first. If I am about to briefly obstruct their view, then I’ll always turn around, apologise and say “thanks”. A little courtesy goes a long way.
As for other photographers, if I am on the whole tour, I won’t go in to the pit for the first three songs. Press photographers only have these three songs to get the best possible shots they can, so it isn’t fair for me to be an extra body in the pit. Instead I try and I use those three songs as a creative opportunity to find a unique spot in that venue.
GETTING THE SHOT
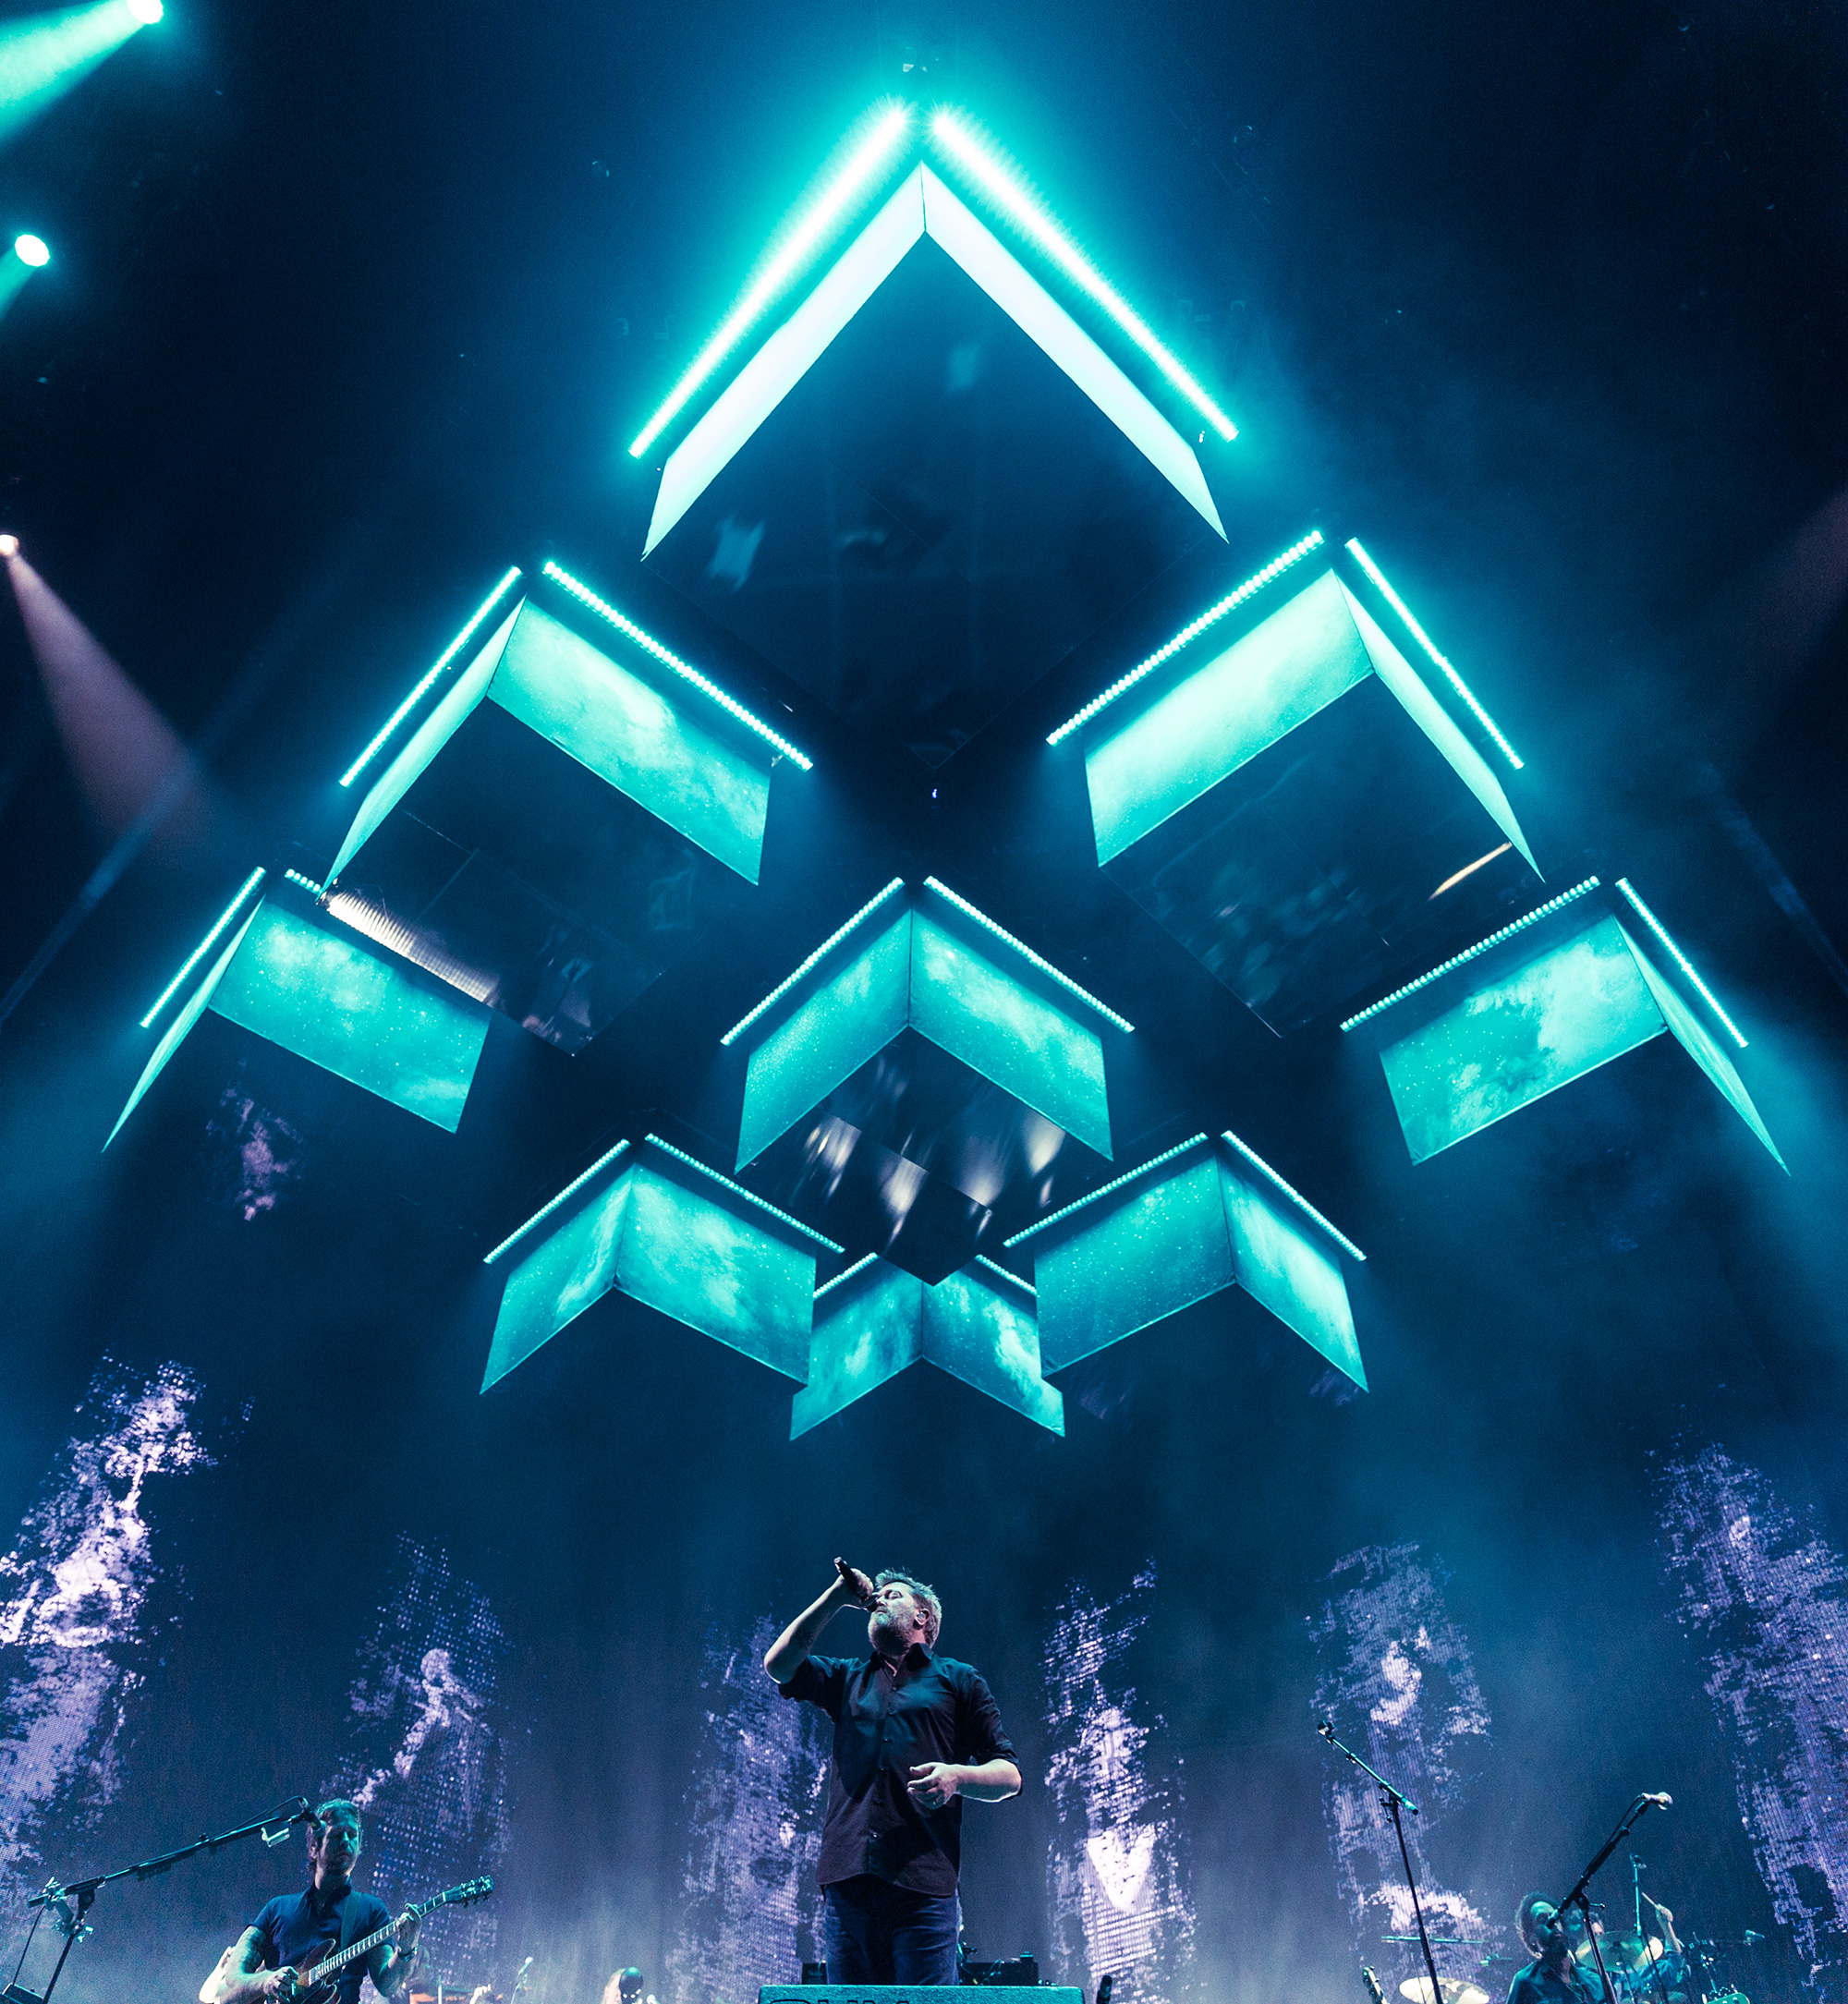
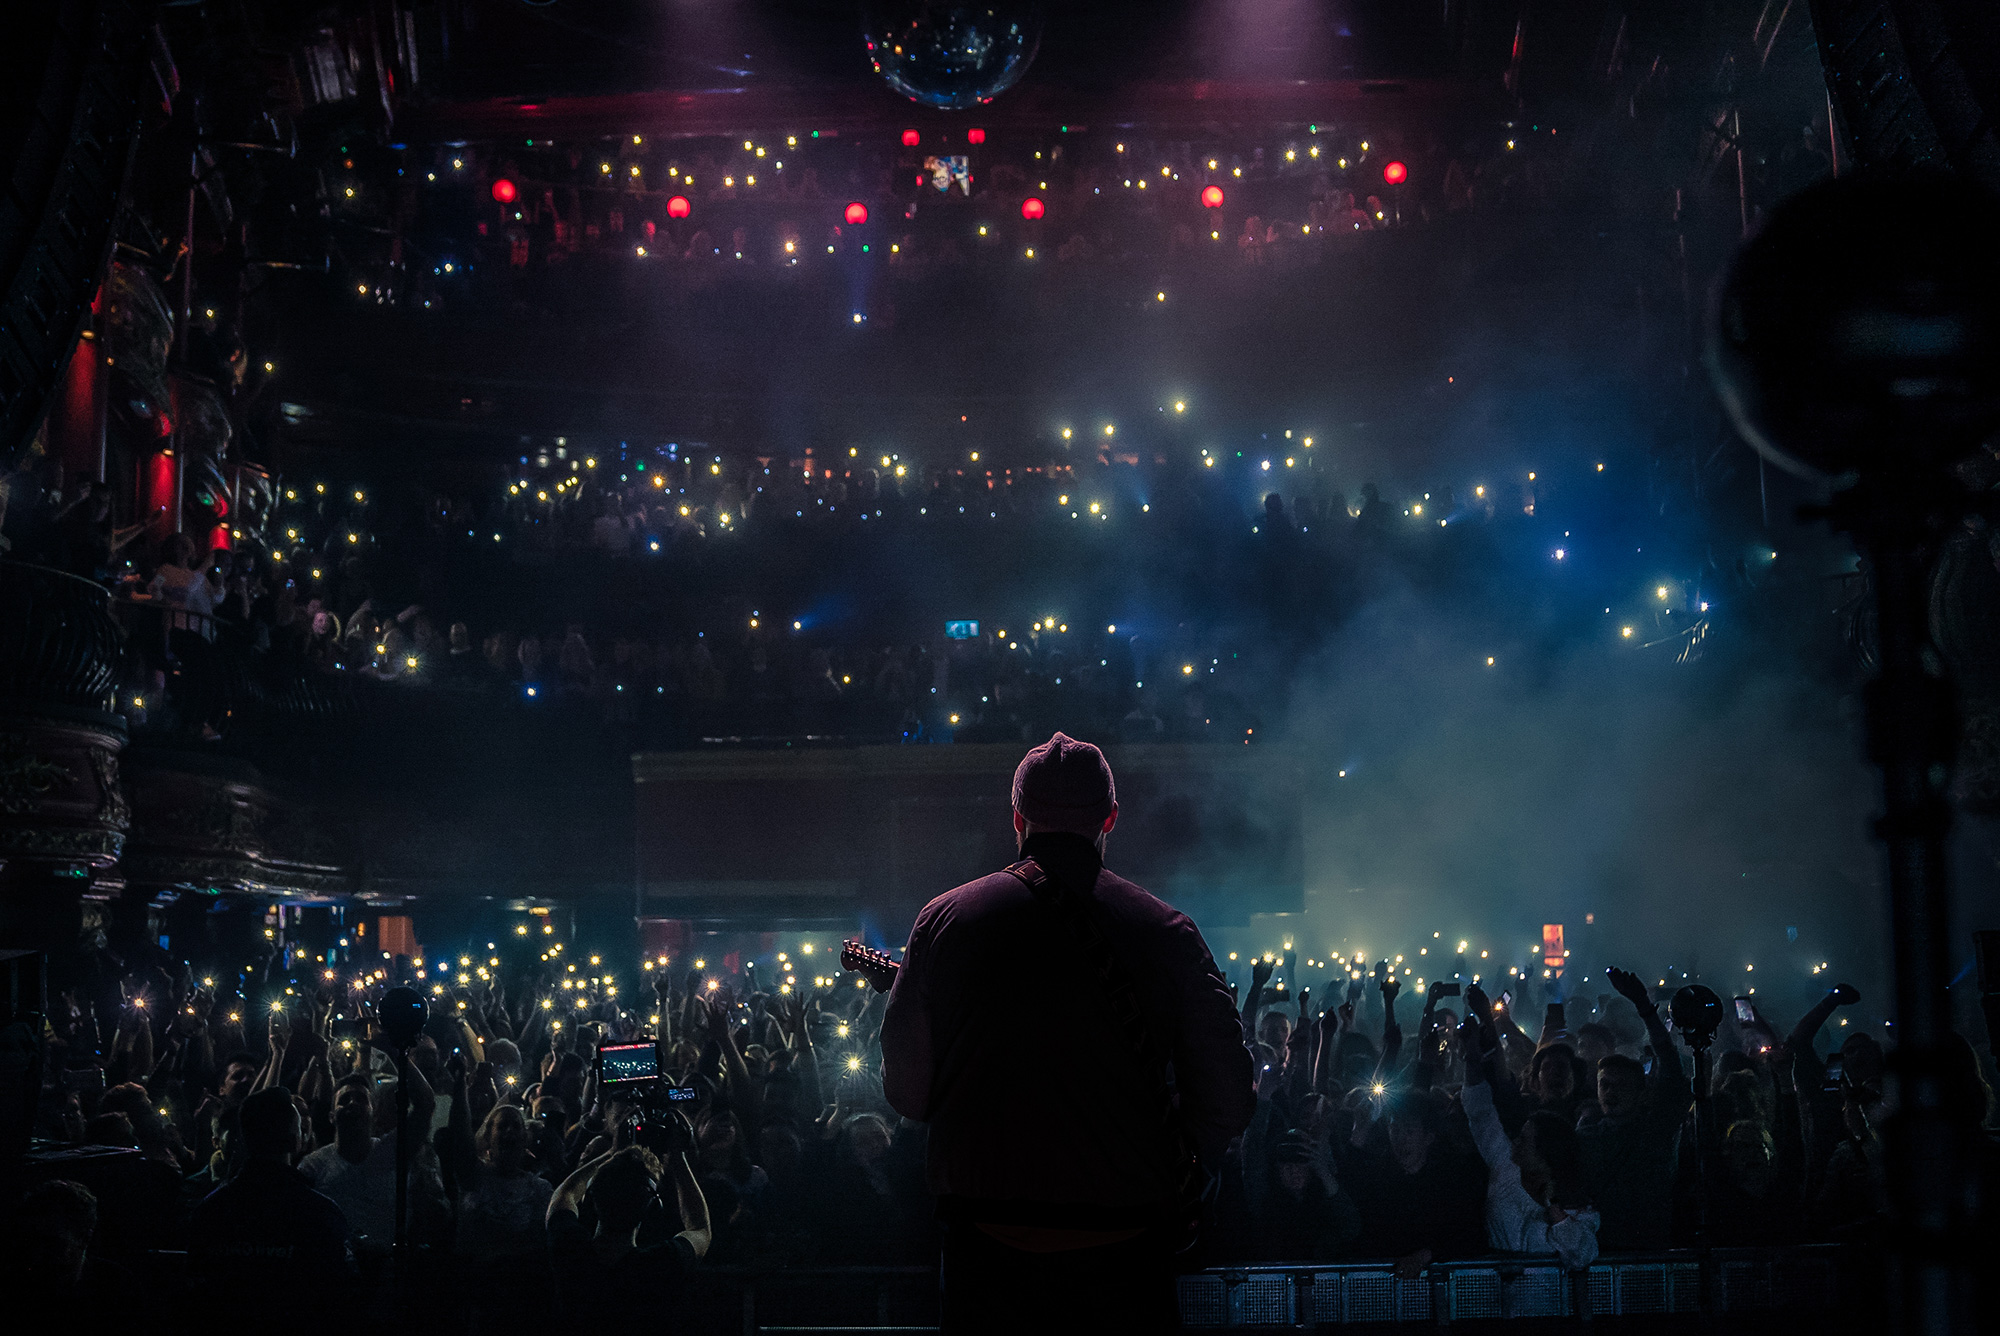
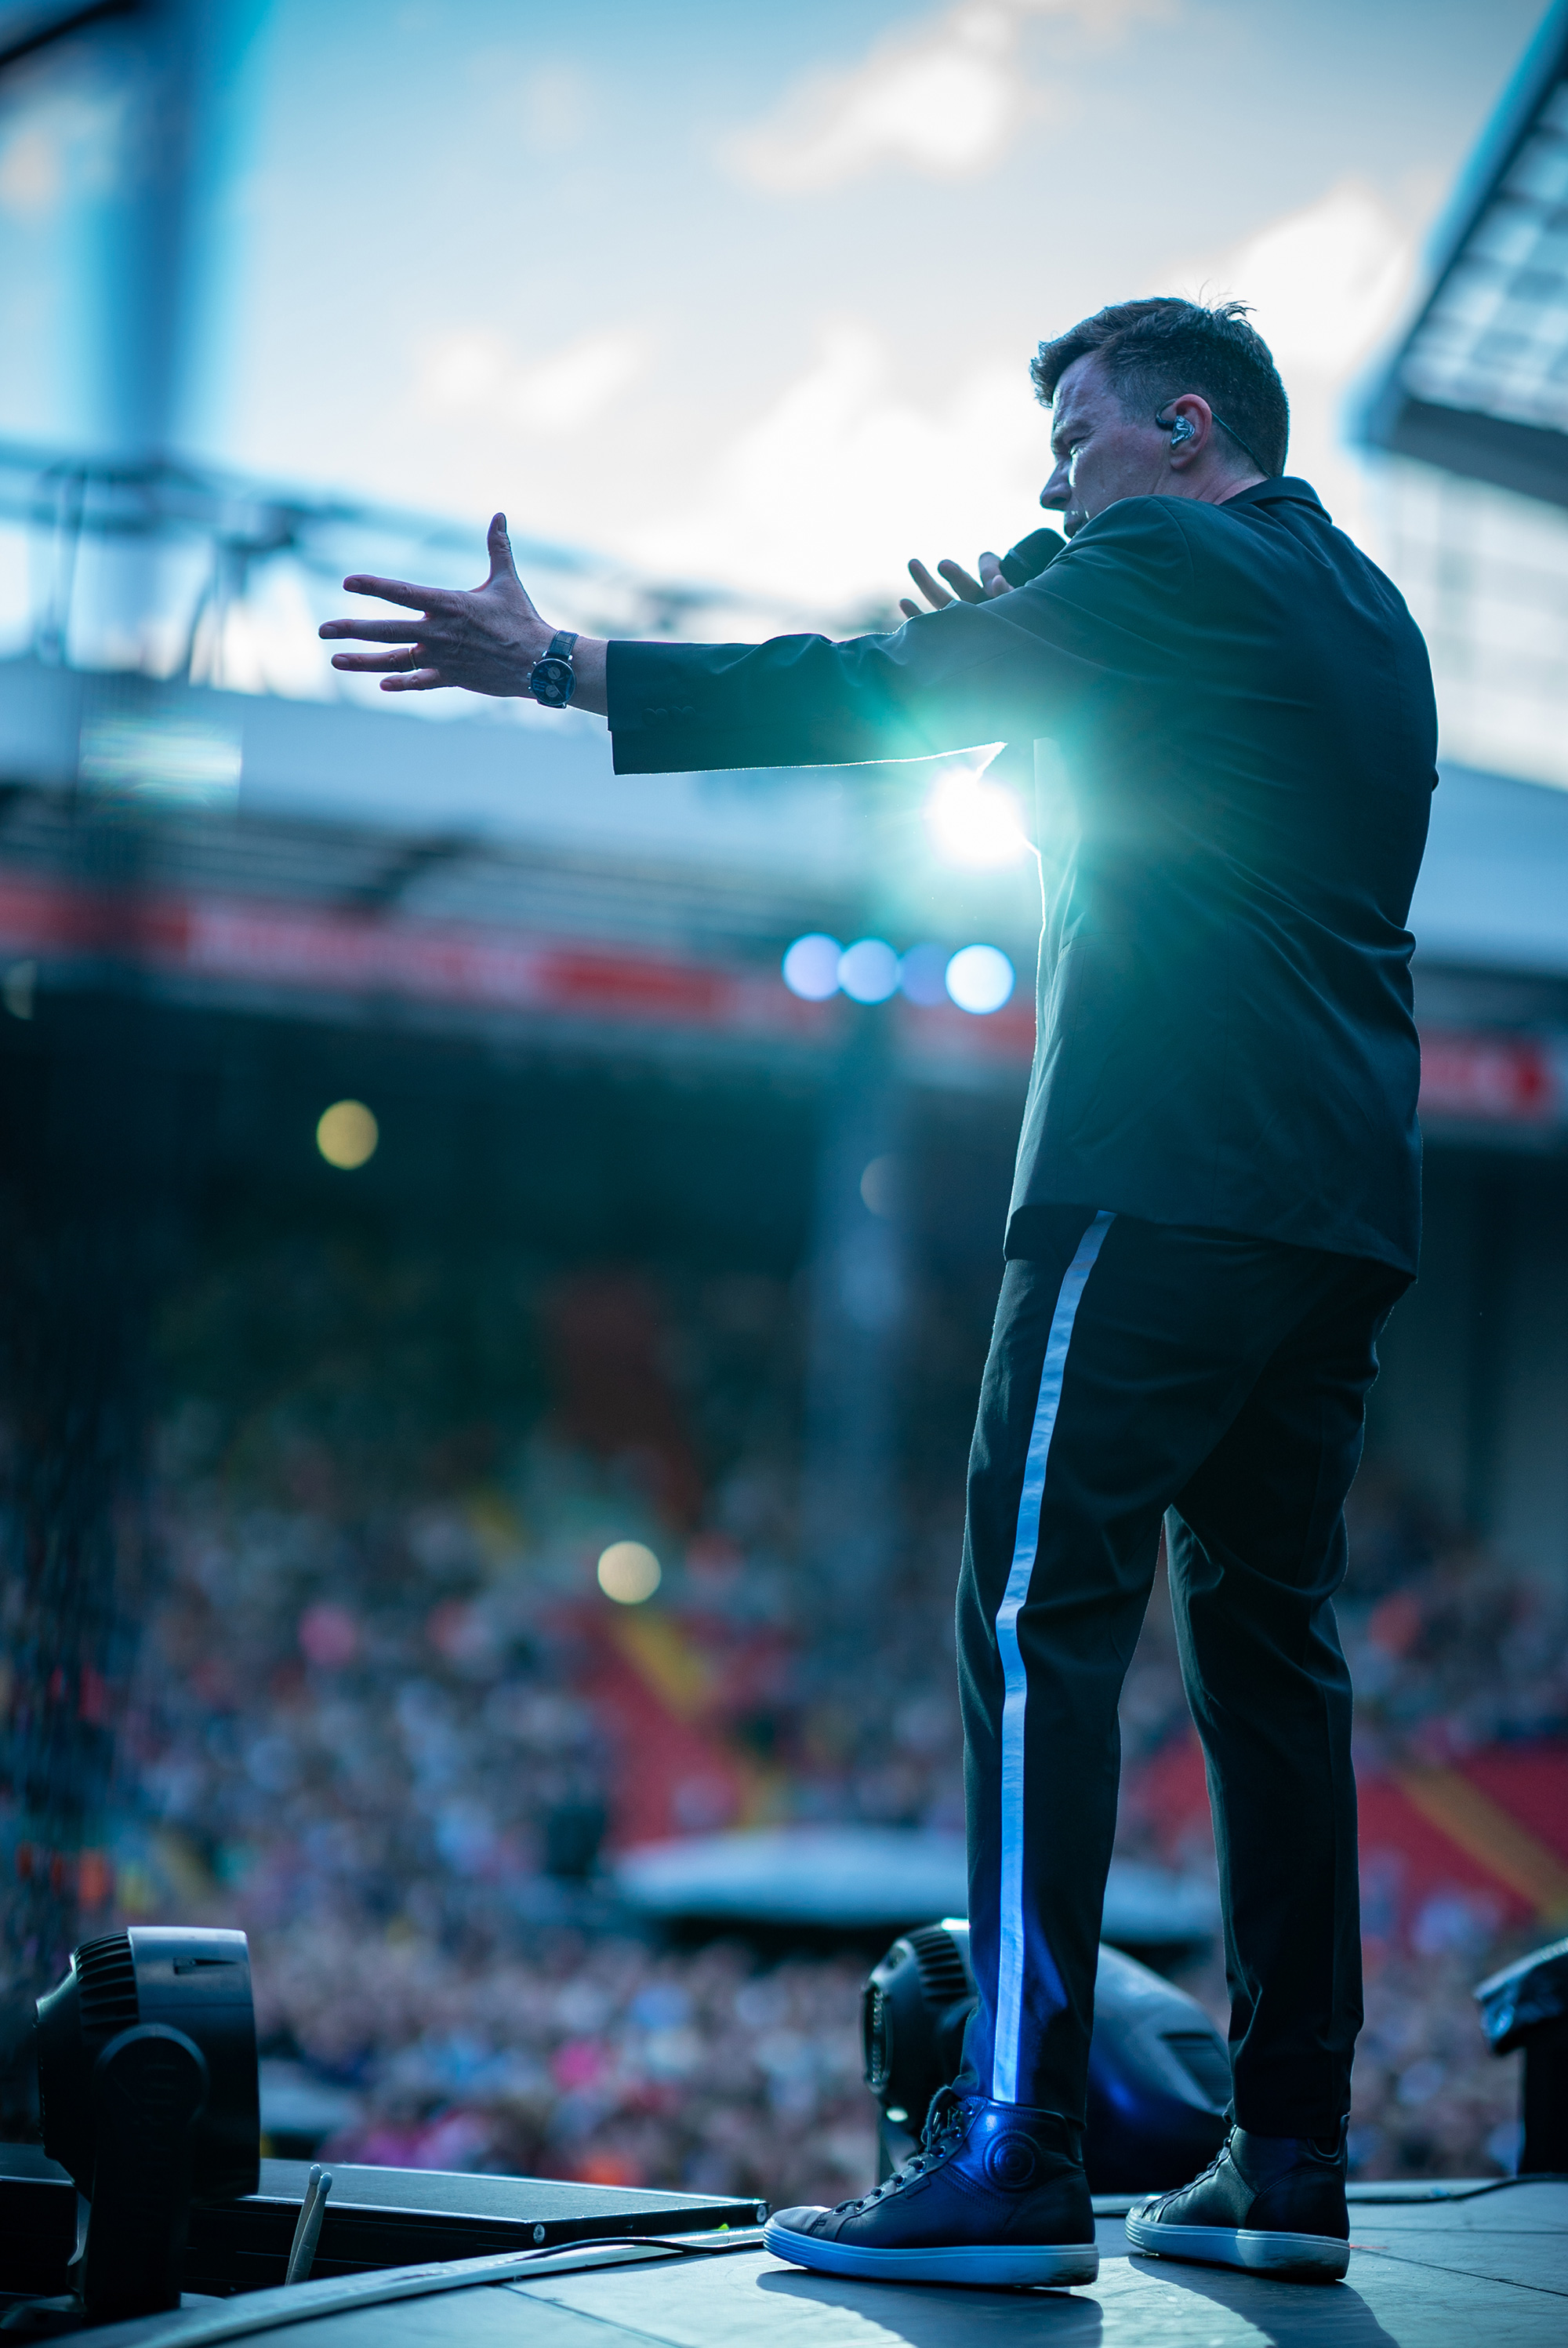
So, what makes an image that I am genuinely excited about? Essentially any that portray the energy at the gig. I am looking for ways to show the energy in the room. Often that can mean shooting through the crowd, after all, without the crowd it could just be a shot from a production rehearsal. There aren’t rules to this, it’s about looking through the viewfinder and just knowing what feels right. It becomes instinct the more you do it.
CAMERA AND LENSES - WHAT TO USE AND WHEN
I always have two cameras around my neck, the Sony α7R III and the α7S II. I will take a lot of my images on the α7R III. It’s 42.2 mega-pixel sensor gives me detailed images and it is very good in low light. However, when the light is very low, I use the α7S II. It has a lower resolution sensor, but I can shoot at high sensitivity without introducing lots of image noise.
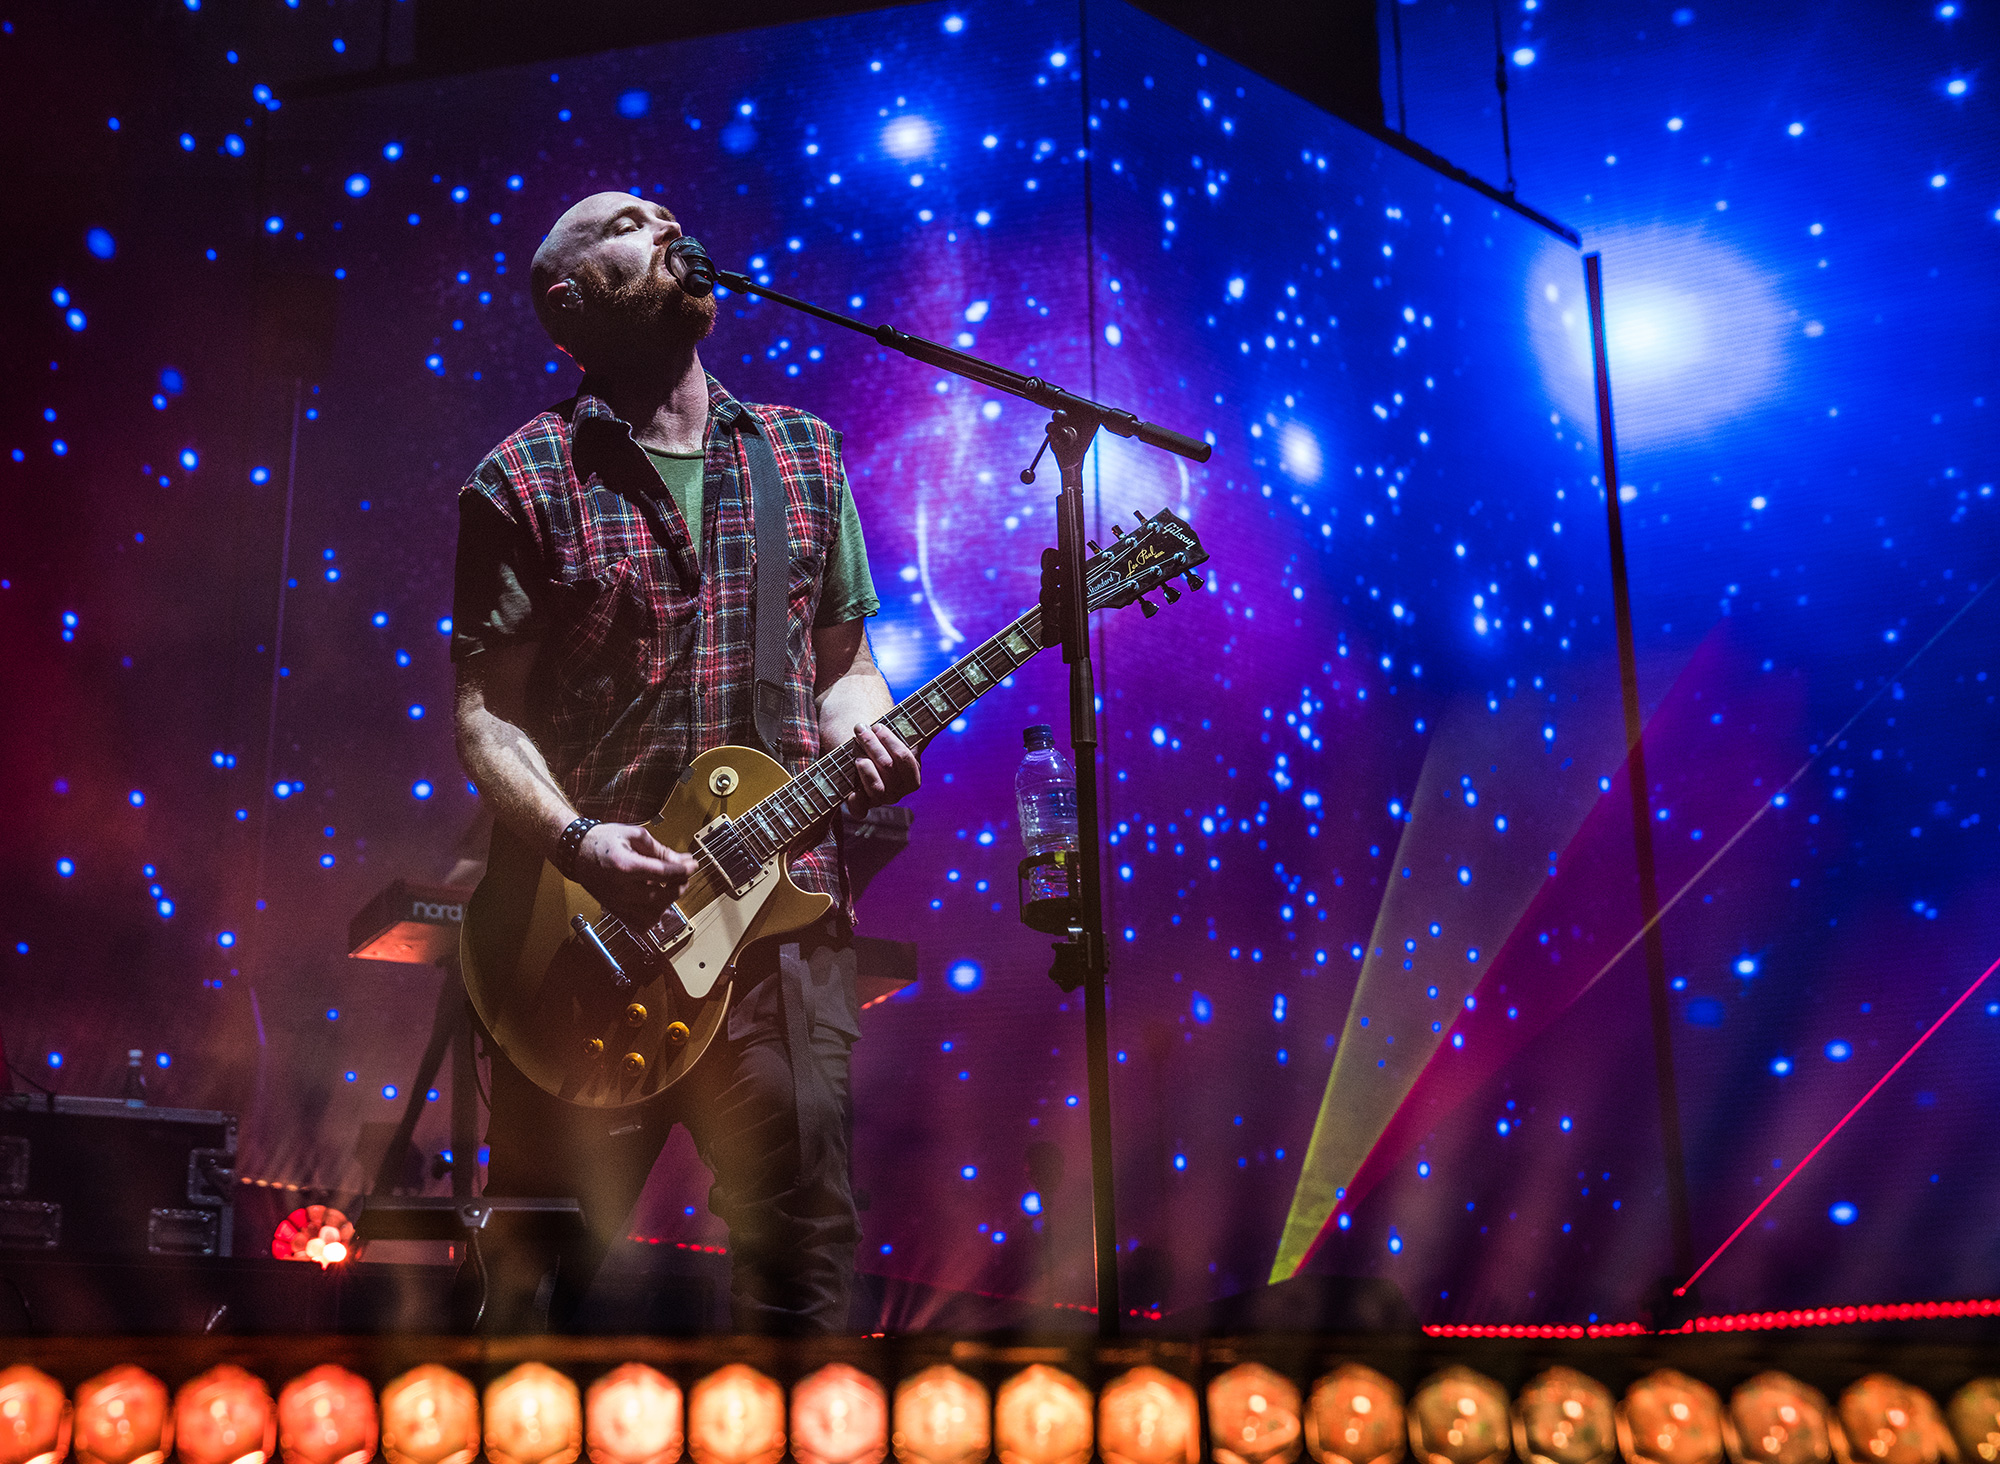
Accompanying these are four lenses - the 24-70mm f/2.8 GM lens, which is usually mounted to one of the cameras, and then I will have the 85mm f/1.4 GM lens or 70-200mm f/2.8 GM lens on the other. Tucked away in my bag will be the 12-24mm f/4 G lens for super wide-angle shots. These lenses cover everything that I need to shoot a gig.
If I am shooting a single concert, rather than a tour, the 24-70mm f/2.8 GM lens is a great lens for me to have mounted on my camera. I can shoot the whole night with just that lens. However, when I am shooting a tour, and already have a few nights worth of images, I will sometimes use just the 85mm f/1.4 lens. Limiting yourself to just a single lens is interesting as you start focusing on details and looking for more creative types of shot.
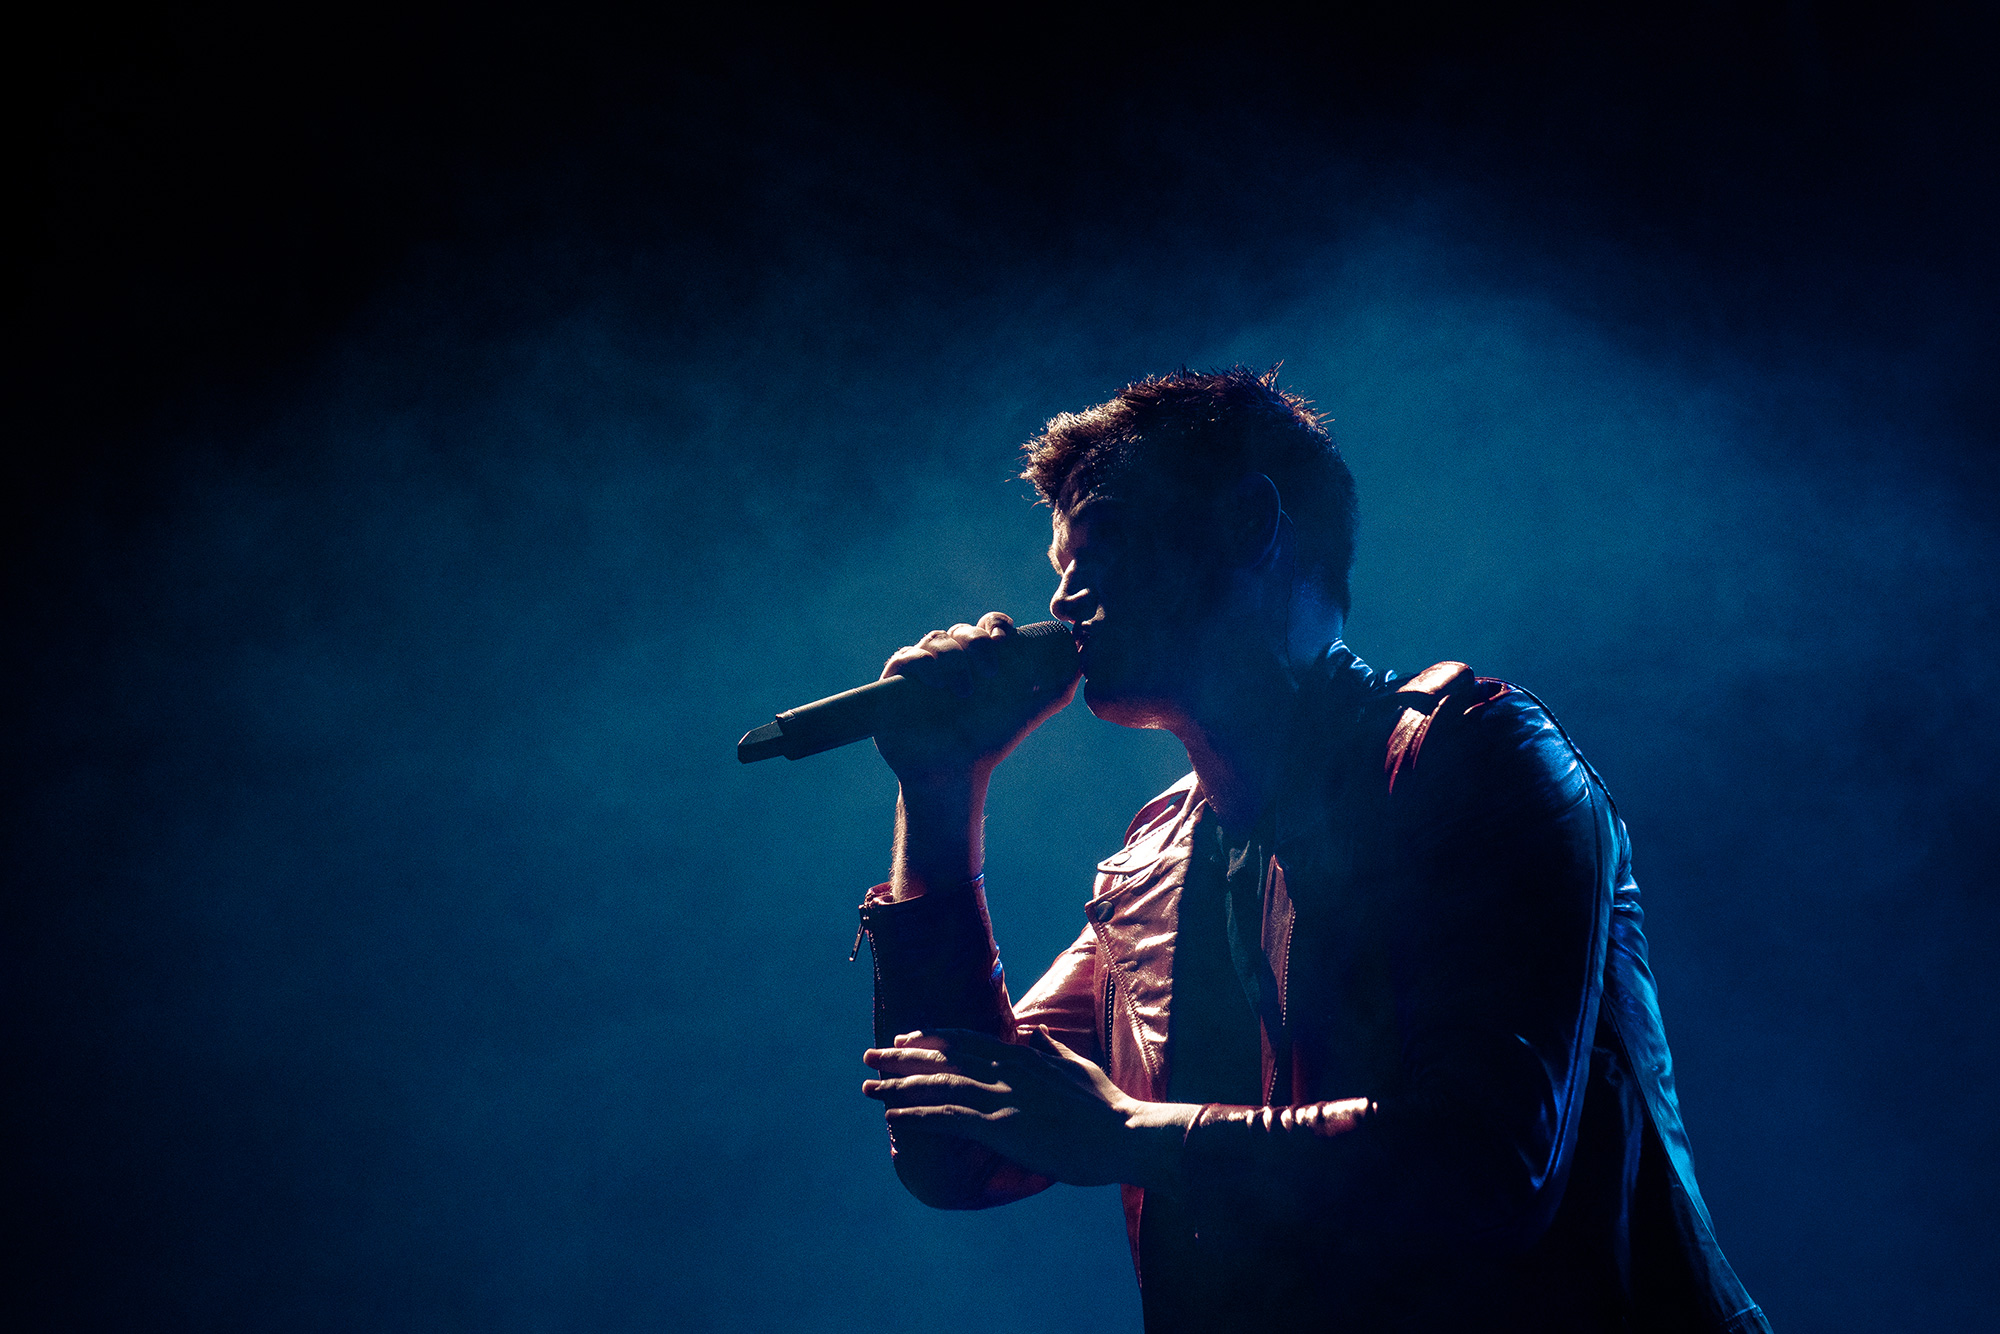
The 85mm f/1.4 GM lens is great in a venue with less light. I have recently fallen in love with Eye-AF of the α7R III, especially when using the 85mm GM lens wide open at f/1.4. The new update means that it is always looking for an eye, so I get all the shots of a singer in focus, rather than on their eyelashes or nose, or the microphone in front of their face. It’s a total game changer.
FOCUSING
I switch between using autofocus and manually focusing. Using manual focus is a creative choice. For example, I may want the guitar strings to be pin-sharp, and have the easily identifiable blur of the lead singer in the background. To help do this, I take full advantage of the Focus Peaking feature, which also helps when I am using older manual vintage lenses. I also set a custom button to activate and magnify the image. I can punch in live to the image and check focus, which is important when you have the high resolution of the α7R III.
EXPOSURE
I always use the camera in fully manual exposure mode. I like to have control over the shutter, the aperture and the ISO sensitivity at all times. Which aperture I choose has commercial and technical considerations. For example, If I am trying to do a shot for a tour poster, I need to make sure that every member of the band is in focus, so I may be shooting at f/5.6 rather than f/2.8 or f/1.4. When it comes to shutter speed you have to consider motion blur from the movement of the artist. The slowest that I am comfortable shooting is around 1/160th sec if I’m wanting a pin sharp image. Of course, motion blur can be artistic choice, and in those cases I may go a lot lower to get motion blur on drums or strings for example.
SO, WHAT AM I EXPOSING FOR?
Well there are a few key things depending on the shot, but the artists face is usually key. Both the α7R III and the α7S II give me a lot of room when it comes to pushing shadow details when editing the raw files, so my general rule is to avoid clipped highlights. I use the histogram to help check the highlight exposure before I take the shot. I would always rather have more shadow and not lose the highlights, but there are times when it can’t be helped. I don’t mind the odd pinpoint or spotlight being blown out, but when you have a large flat area, I will completely avoid that. I find it much more effective to push the shadows than try and pull the highlights back.
KIT USED:
• Sony α7R III
• Sony α7S II
• FE 24-70mm f/2.8 GM
• FE 85mm f/1.4 GM