Developing your practice: Albert Dros on shooting colours in the landscape
Colour is such an important part of my landscape images. Whether it’s an epic landscape with incredibly vivid colours or something more subtle, I want to show the viewer just how incredible light and colour can be.
PLANNING YOUR LOCATION
It all starts with planning. I spend a lot of time researching the locations of my landscape images, especially in my home country, The Netherlands. You should always keep your eyes open for a possible location, even one you might have passed hundreds of times.
Further afield, there are plenty of ways you can research locations. You can find almost any location on Instagram or Google Images, which should give you an idea of the area and the type of light you may be working with. When I’m researching somewhere more off the beaten track, I use Google Earth. I can spend hours on it, just browsing the landscape and checking potential locations. When I get to a location, I’ll often use my drone to scout out potential spots, rather than spending time and energy searching for them.
For the right colour, I need to know what the light will look like. I have to know when and where the sun, or moon, will come up, and where it will go down. To do this, I mainly use the PhotoPills app to see how the moon and sun will move and affect the list in a location.
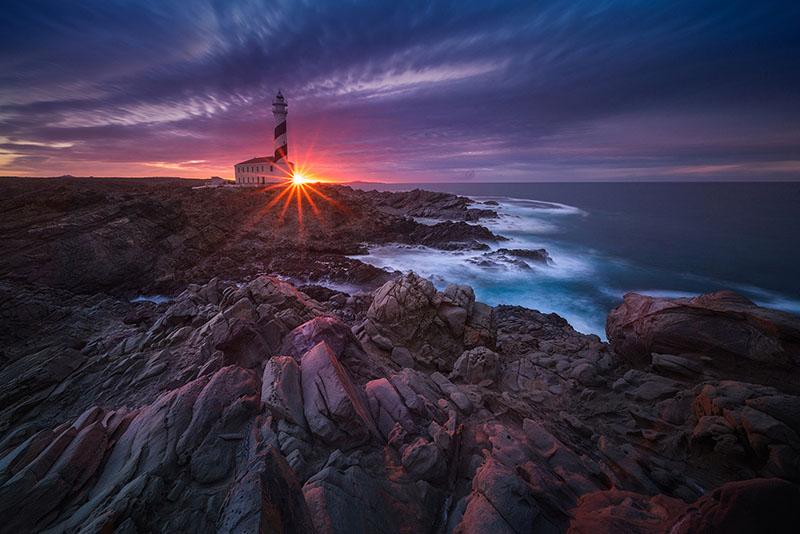
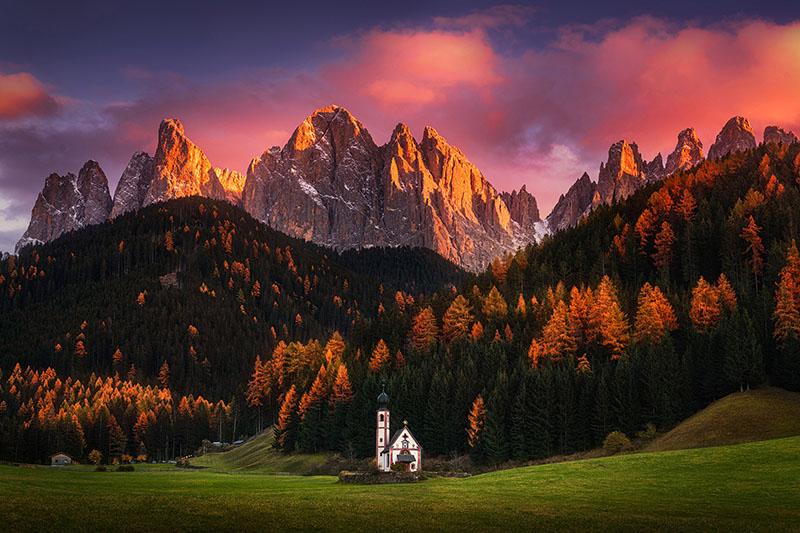
I also always keep an eye on the weather as this has a huge impact on the colouring in a shot. If it all goes to plan and the weather is on my side, the perfect light is either just before sunrise and just after sunset. At these times the sky may turn red, pink or purple – the strong colours that I love. I do also shoot at night; the night sky actually has a lot of colour that can be captured with a long exposure, especially in areas where there is no light pollution.
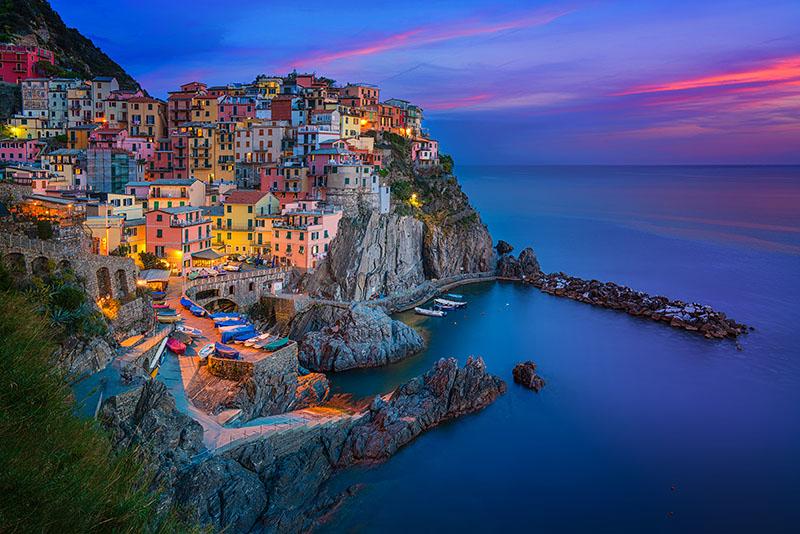
Overall though, what I’m really looking for is complementary colours. Blue and orange are one of my favourite colour combinations - a blue sea with an orange sky works so well. But it can also be small things in the foreground that can suit the colour of the sky, like a small flower or a small rock; look for these things and try and use them in your compositions.
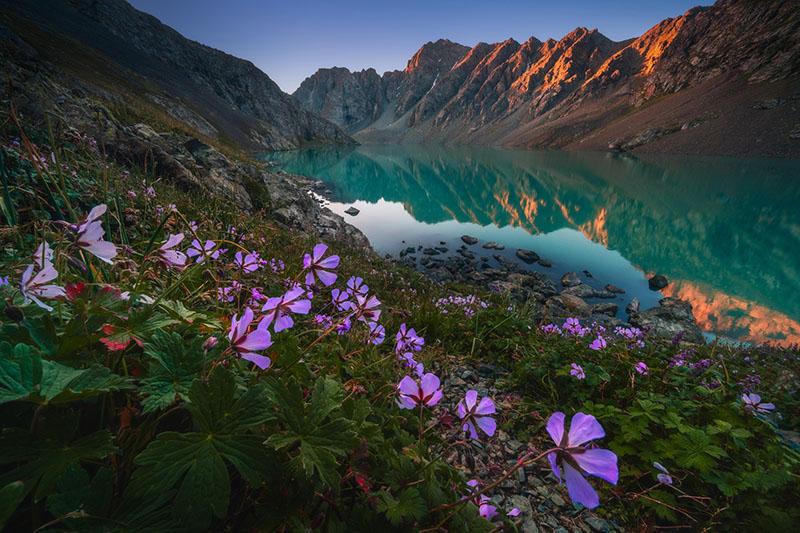
One way I bring out smaller, colourful subjects in the foreground is to use very wide-angle lenses. I often use the 12-24mm f/4 G lens at 12mm. When you get closer to the ground with this focal length, you suddenly see all of the lines and details that you can use as foreground subjects. At 12mm your foreground gets so big, it’s like you’re getting sucked into the image.
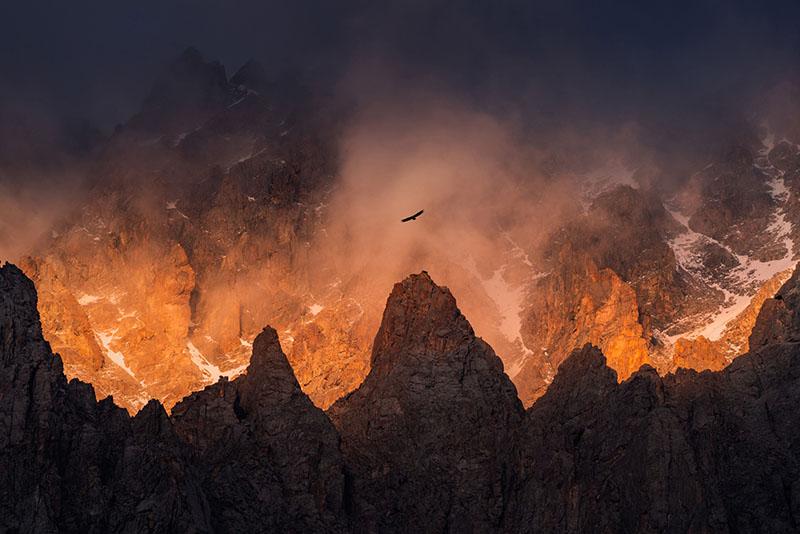
Another lens I always use is the Sony FE 100-400mm f/4.5-5.6 OSS G Master Lens. It’s one of the sharpest zoom lenses I’ve ever used and I’ve become addicted to it! When you shoot a landscape at 400mm you have to be very creative – you have to look very far in the distance and see how different elements in your landscape will work together. Shooting with these extreme focal lengths pushes you to be creative, resulting in a more unique image than if you had just used a standard focal length.
I used to pair my lenses with a Sony α7R II but have no progressed to use the Sony α7R III. Its 42.4 mega-pixel resolution provides me with all the detail I need, and the dynamic range can pull details out of the shadows. Besides my camera, lenses and tripod, I also carry a few filters with me, but I rarely use graduated ND filters, and instead, I tend to expose for the highlights. I know that almost all of the time, the α7R III can capture plenty of detail in the shadows, which I can then bring out when editing the images.
EDITING
When I’m editing my images, I like to process them to get the best out of a scene. However, I never fake a scene by changing the sky – I’ll use my processing techniques to present what was in the scene in the best way possible. To do this, I use Adobe Lightroom to catalog my images, then I’ll use Adobe Photoshop to do my processing, adjusting the colour and the contrast and doge and burn areas of an image.
People often say that there is too much processing in photography, or even that an image can appear fake, especially when looking at sunrises or sunsets. But natural light and colour can be incredible and I’ve sometimes even had to reduce the saturation in parts of an image. So, my advice is to get up early and witness what nature can do.
SOME FINAL TIPS
- Go to Extremes: Try using super wide angle and telephoto focal lengths to give your images impact and make them stand out from other more traditional landscapes.
- Get Down Low: Use a wide-angle lens low to the ground to add interest to the foreground.
- Find complimentary colours: Orange sunsets and blue seas work, but also look for small patches of foreground colour, things like plants and rocks work well.
- Before and After: Sunsets and sunrises are nice, but the best colour can happen before and after the actual sunset.
Content originally published on sony.co.uk